Upgrading a laptop’s RAM is honestly one of the best ways to squeeze more life and speed out of it. Recently I went ahead and gave my Wife’s Dell Inspiron 3530 a little extra muscle by swapping out the stock memory for a bigger, faster kit. The hope? Smoother multitasking, fewer slowdowns, and maybe a bit less frustration when things get busy.
Before cracking it open, I double-checked that I had the right RAM and the tools I’d need. It’s important to understand what sets laptop and desktop memory apart, and how to get inside the laptop case without breaking anything. It goes without saying you can’t put desktop RAM into a laptop. Doing this basic prep ahead of time made things go pretty smoothly.

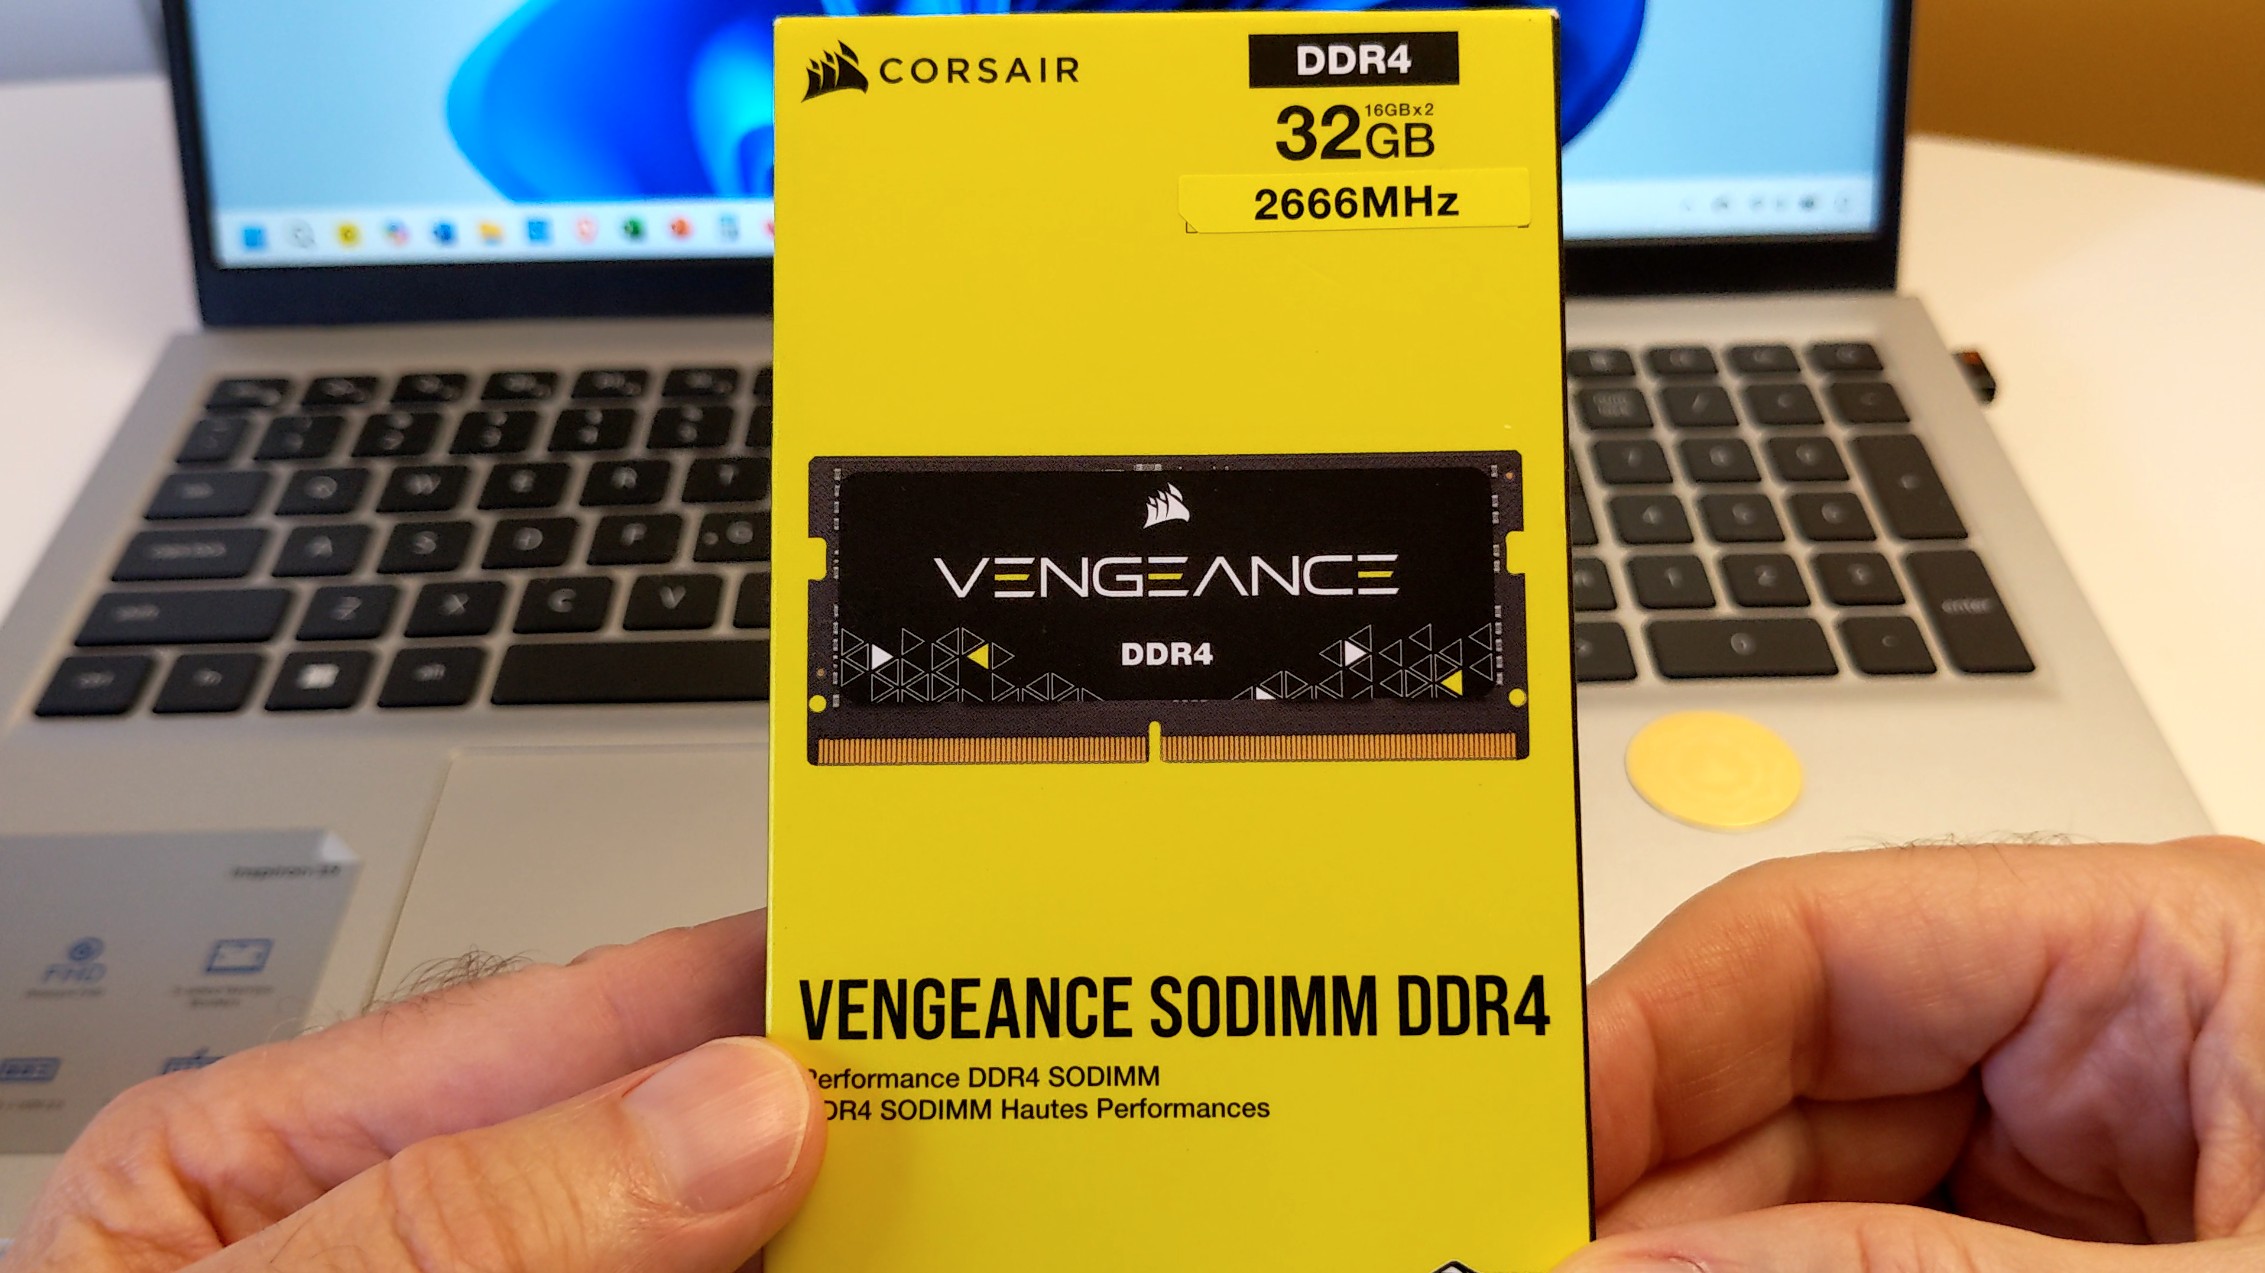
- 32GB (2x16GB) DDR4 SODIMM kit for 6th Generation Intel Core i5 and i7 notebooks
- 2666MHz 1 2v 18-19-19-39 latency
- Package Memory Format SODIMM

- Designed for productivity: Your Inspiron PC is now ready for business with military-grade testing for added reliability and an easy-to-use, built-in Trusted Platform Module to protect your data. Connect all your personal and business devices with a range of options.
- Stay connected to what you love: Enjoy quality video chats with a built-in FHD webcam that keeps you looking your best. Easily spend more screen time on the things you enjoy with Dell ComfortView software, which is software solution that helps reduce harmful blue light emissions to keep your eyes comfortable over extended viewing times, like your next movie marathon.
- Adapt to any situation: Adaptive thermals keep your PC running efficiently, whether at your desk or working from your lap. Your Inspiron 15 intelligently adjusts its power and thermals to keep running smoothly, using advanced algorithms and accelerometers.
Key Takeaways
- RAM upgrades can make a big difference in multitasking and system responsiveness
- Double-checking RAM type and capacity is crucial to avoid compatibility headaches
- Having the right tools and following good steps makes for a hassle-free upgrade
Why Upgrade Laptop RAM
Benefits of Increased Memory
Bumping up to 32 GB of DDR4 RAM at 2,666 MHz made multitasking on my Wife’s Inspiron 3530 noticeably smoother. Now she can juggle a bunch of browser tabs, run Office apps, and even keep a virus scan going without the system noticeably slowing down or hesitating.
Here’s a quick look at the change:
| Specification | Before Upgrade | After Upgrade |
|---|---|---|
| Installed RAM | 16 GB | 32 GB |
| Memory Speed | 2,666 MHz | 2,666 MHz |
| Multitasking Load | Moderate Lag | Smooth |
The extra memory really lets me run more stuff at once and still keep things responsive. And with auto overclocking, I didn’t have to mess around in the BIOS at all.
Signs Your Laptop Needs More RAM
I started thinking about upgrading when my system dragged under heavy multitasking. Some telltale signs:
- Frequent freezing or stuttering when flipping between apps
- High memory usage in Task Manager
- Longer load times for programs and browser tabs
- Reduced responsiveness during streaming or editing docs
If you’re running into these issues a lot, more RAM could be a real sanity-saver.
Overview of the Dell Inspiron 3530
Key Features and Specifications
The Dell Inspiron 3530 sports a 15.6-inch Full HD display—plenty sharp for everyday stuff.
It’s powered by an Intel Core i5 processor and has a 512 GB SSD for quick storage.
Ports include:
- USB 3.0
- USB-C
- HDMI
- SD card reader
At about $600 on Amazon, it’s a solid deal for web browsing, streaming, and office work.
Upgrade Potential and Value
The Dell Inspiron 3530 can handle up to 32 GB of DDR4 SODIMM RAM for heavier multitasking.
I used a Corsair Vengeance 32 GB dual-channel kit at 2,666 MHz and 1.2V.
The upgrade was painless, and the system picked up the new RAM right away—no BIOS fiddling required.
With the extra memory, I can keep more apps and tabs open and everything stays snappy, even during scans or big office projects.
Choosing the Right RAM
Corsair Vengeance DDR4 32GB Kit
I went with the Corsair Vengeance DDR4 SO-DIMM 32GB kit at 2,666 MHz.
It runs at 1.2 volts—nice for keeping energy use in check.
Auto overclocking took care of itself, so I didn’t need to dig into BIOS settings.
| Specification | Detail |
|---|---|
| Capacity | 32 GB (2×16 GB) |
| Type | DDR4 SO-DIMM |
| Speed | 2,666 MHz |
| Voltage | 1.2 V |
| Overclocking | Automatic |
Compatibility Considerations
I made sure the RAM matched the supported specs for my laptop before ordering.
SO-DIMM sticks are smaller than desktop RAM and have a different pin setup, so you can’t just swap them.
If your laptop refuses to boot after a swap, it’s worth reseating the modules and making sure they’re actually compatible.
Advantages of Dual Channel Memory
This kit runs in dual channel mode, which lets the laptop access memory more efficiently.
You get better data transfer rates compared to just one stick.
That’s especially handy if you’re juggling lots of apps or streaming and browsing at the same time.
Preparing for the RAM Upgrade
Required Tools and Safety Tips
First thing, I grabbed the right screwdriver. My Inspiron uses PH0 screws, so a Phillips head zero did the trick.
One screw was stubborn thanks to thread lock. A quick blast with a hair dryer loosened it up enough to turn.
What I used:
| Tool | Purpose |
|---|---|
| Phillips head #0 screwdriver | Remove back cover screws |
| Hair dryer | Warm up stuck screw |
| Thin plastic tool | Pry open the back cover safely |
I always try to work on a clean, static-free surface to avoid frying anything.
Accessing the Laptop Interior
Once all the screws were out, I slid a thin plastic tool along the edge and carefully lifted the back cover. No need to rush—last thing I want is a cracked case.
Inside, I found the SODIMM RAM slots. Laptop RAM is smaller than desktop sticks, so I double-checked the new ones were the right size and pin layout.
Pushed the retaining clips outward to pop out the old RAM. Lined up the notch on the new module, slid it in at an angle, and pressed down until it clicked.
Once the RAM was in, I put the back cover on, tightened the screws, and fired up the laptop.
Understanding SODIMM vs Desktop RAM
Physical Differences
SODIMM RAM is just smaller and shorter than desktop DDR4—made for laptops and compact devices where space is tight.
| Feature | SODIMM (Laptop) | Desktop DDR4 |
|---|---|---|
| Length | Shorter | Longer |
| Pin Configuration | Different, not interchangeable | Different, not interchangeable |
| Intended Use | Laptops, small form factor PCs | Desktop computers |
Because of the size and pin differences, you can’t swap laptop and desktop RAM. Not even close.
Performance Comparison
Both SODIMM and desktop RAM can hit similar speeds and capacities these days.
The big difference is just the physical size—SODIMMs fit into smaller spaces.
Honestly, a good SODIMM can perform just as well as a desktop stick, if your system supports it. Laptops don’t have to be slow anymore.
Step-by-Step RAM Installation Guide
Removing the Back Cover
I checked the tech manual to confirm which screwdriver I’d need.
The screws on this Dell Inspiron 3530 are PH0 Phillips head.
Some screws had thread lock, and one really didn’t want to budge. A little heat from a hair dryer did the trick.
After all the screws were out, I gently worked a plastic tool around the edge to pop the cover off without any scratches.
| Tool Needed | Purpose |
|---|---|
| PH0 Phillips driver | Remove back cover screws |
| Hair dryer (optional) | Loosen stubborn screws |
| Plastic pry tool | Lift cover gently |
Taking Out the Old RAM
Found the RAM slots and gently pushed the retaining clips outward.
The old stick popped up at an angle, and I pulled it straight out—avoiding the gold contacts as much as possible.
Installing the New RAM
Lined up the notch on the new Corsair Vengeance DDR4 SO-DIMM with the slot key.
Slid it in at a slight angle and pressed down until it clicked into place.
Quick checklist before pressing down:
- Notch lines up with slot
- Module is fully seated
- Clips snap back in
Reassembling the Laptop
Put the back cover on and reinstalled all the screws.
On boot, the laptop took a little longer and showed a BIOS message about the memory change.
Clicked Continue, and Windows loaded up, showing the upgraded RAM.
Verifying a Successful Upgrade
BIOS and System Checks
When I powered the laptop back on, it took a little longer than usual to boot up. A BIOS notification popped up, letting me know the system memory had changed. I just hit Continue and moved on.
Once I got to the Windows desktop, I fired up Task Manager to double-check the total installed memory. Sure enough, the new capacity was showing up, exactly as expected.
I ran the same performance test as before:
- Opened a bunch of browser tabs
- Launched Microsoft Office apps
- Ran a Norton virus scan
Everything felt smooth, and I had plenty of memory to spare.
| Checkpoint | Expected Result |
|---|---|
| BIOS at boot | Memory change notification |
| Windows Task Manager | Shows upgraded total memory |
| Performance test | No lag or instability |
Troubleshooting Common Issues
If the laptop refuses to power on after the upgrade:
- Shut it down completely.
- Pop the back cover off again.
- Double-check that each RAM stick is firmly seated and the clips are snapped in place.
If it still won’t start, there’s a good chance the RAM isn’t compatible. At that point, I’d put the original RAM back in just to make sure the laptop itself is fine before hunting down a different kit.
Performance Testing After Upgrade
Real-World Multitasking Improvements
I went through the same routine—opening multiple browser tabs, several Microsoft Office applications, and running a Norton virus scan all at once.
With the new 32 GB DDR4 kit in place, the laptop handled everything with zero lag. It was honestly a relief.
Here’s a quick side-by-side:
| Task Combination | Before Upgrade (16 GB) | After Upgrade (32 GB) |
|---|---|---|
| 12+ browser tabs + Office apps + virus scan | Noticeable slowdowns | Smooth performance |
| Switching between apps | Occasional delay | Instant response |
Monitoring System Resources
I left Task Manager open while testing, just to keep an eye on memory and CPU usage.
Available RAM stayed well above 50% even when I was pushing the system, which was a big change from before when it would creep up close to full.
Some quick takeaways:
- RAM usage headroom jumped up by a lot.
- CPU utilization stayed pretty steady, without random spikes from memory bottlenecks.
- The laptop stayed responsive, even with background stuff going on.
Conclusion and Next Steps
RAM’s upgraded—now running 32 GB DDR4 at 2,666 MHz. Task Manager’s showing way smoother multitasking, even with a bunch of browser tabs, Office, and a virus scan all going at once.
Next actions I’d suggest:
- Keep an eye on system stability for a few days.
- Hang onto the old RAM, just in case.
- Every so often, check performance with built-in tools.
- See if your usual apps actually take advantage of the extra memory.
| Component | Before Upgrade | After Upgrade |
|---|---|---|
| Installed RAM | 16 GB DDR4 | 32 GB DDR4 |
| Memory Speed | 2,666 MHz | 2,666 MHz |
| Multitasking Load | Moderate lag | Smooth |
I’ll keep using this setup for daily work, streaming, and browsing—let’s see if the improvements stick around in normal use.
