
I’ve been waging a battle for years with Wi-Fi instability in my home and my Dell XPS 9500. It has a Killer Wireless Wi-Fi 6 AX1650s network adapter which supports 802.11 AX with theoretical max performance of 2.5 Gbps. While the laptop itself is still going strong thanks to high performance RAM and disk drive upgrades, However, Wi-Fi performance in my home office until recently has been driving me crazy.
My router is located in a front corner of my home on the ground floor but my “office” is upstairs in the opposite back corner. At 3,000 sq. ft., it’s not a large home, but apparently it’s large enough to turn the Wi-Fi reception in my office into a gamble every day.
Intermittent slowdowns and wild bandwidth swings -anywhere from 10 Mbps to 100 Mbps were regular. I employed every trick I could including Wi-Fi extenders, powerline ethernet adapters, router upgrades, and even upgrading to Google Fiber with gigabit internet service. Regardless of the solutions I employed, my download speed was still slow, inconsistent, and nowhere near the speeds boasted by my service providers.
In the end, the journey to reliable Wi-Fi in my office upstairs finally reached it’s destination. The fix was a combination of three things: running a 100 ft Cat6 ethernet cable, configuring wired a Wi-Fi backhaul, and simply moving my laptop from under my desk to the side of it.
Key Takeaways
- Laptop Wi-Fi antennas are typically in the screen cover and signal strength is determined by orientation to access points.
- Upgrading routers or internet speeds won’t fix problems caused by walls, floors, or just suboptimal device placement.
- A wired backhaul between your router and Wi-Fi extender makes a huge difference for reliable internet connection.

- Blazing-fast WiFi 7 tech boosts throughput up to 7200Mbps with Multi-Link Operation and 4096-QAM.
- Bolster your wired network capacity up to 34G with one cutting-edge 10G SFP+ port and one standard 10G WAN/LAN port.
- Establish always-on internet through AI WAN detection, versatile WAN configuration options, and a convenient USB port ready for 4G LTE and 5G Mobile tethering.

Why My Dell XPS 9500 Faced Ongoing Wi-Fi Signal Issues
The layout of my house made Wi-Fi a challenge from the beginning. Originally my office was on the ground floor of our home and the router was in the same room where I worked so Wi-Fi was always great. But as my family’s needs changed, my office space was moved to an upstairs room over the garage which also happened to be the exact opposite corner diagonally from the room where the router is installed. The signal had to fight through walls, floors, and probably all kinds of interference from ducts and wiring. Even in a “normal” house, that’s enough to kill your signal fast.
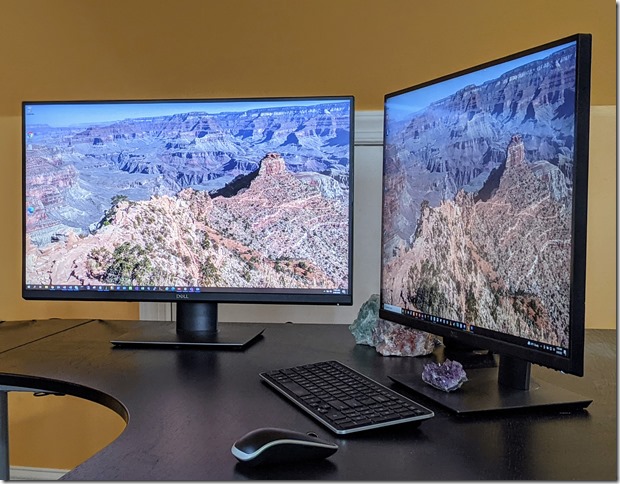
But my challenges weren’t just the extra distance and walls and floors running interference. I’ve always liked having a clean desk surface to work so not only do I use a wireless keyboard and mouse, but I installed some brackets under my desk to keep my laptop out of sight. I even zipped tied the power supply a power strip underneath the desk so everything uber tidy.
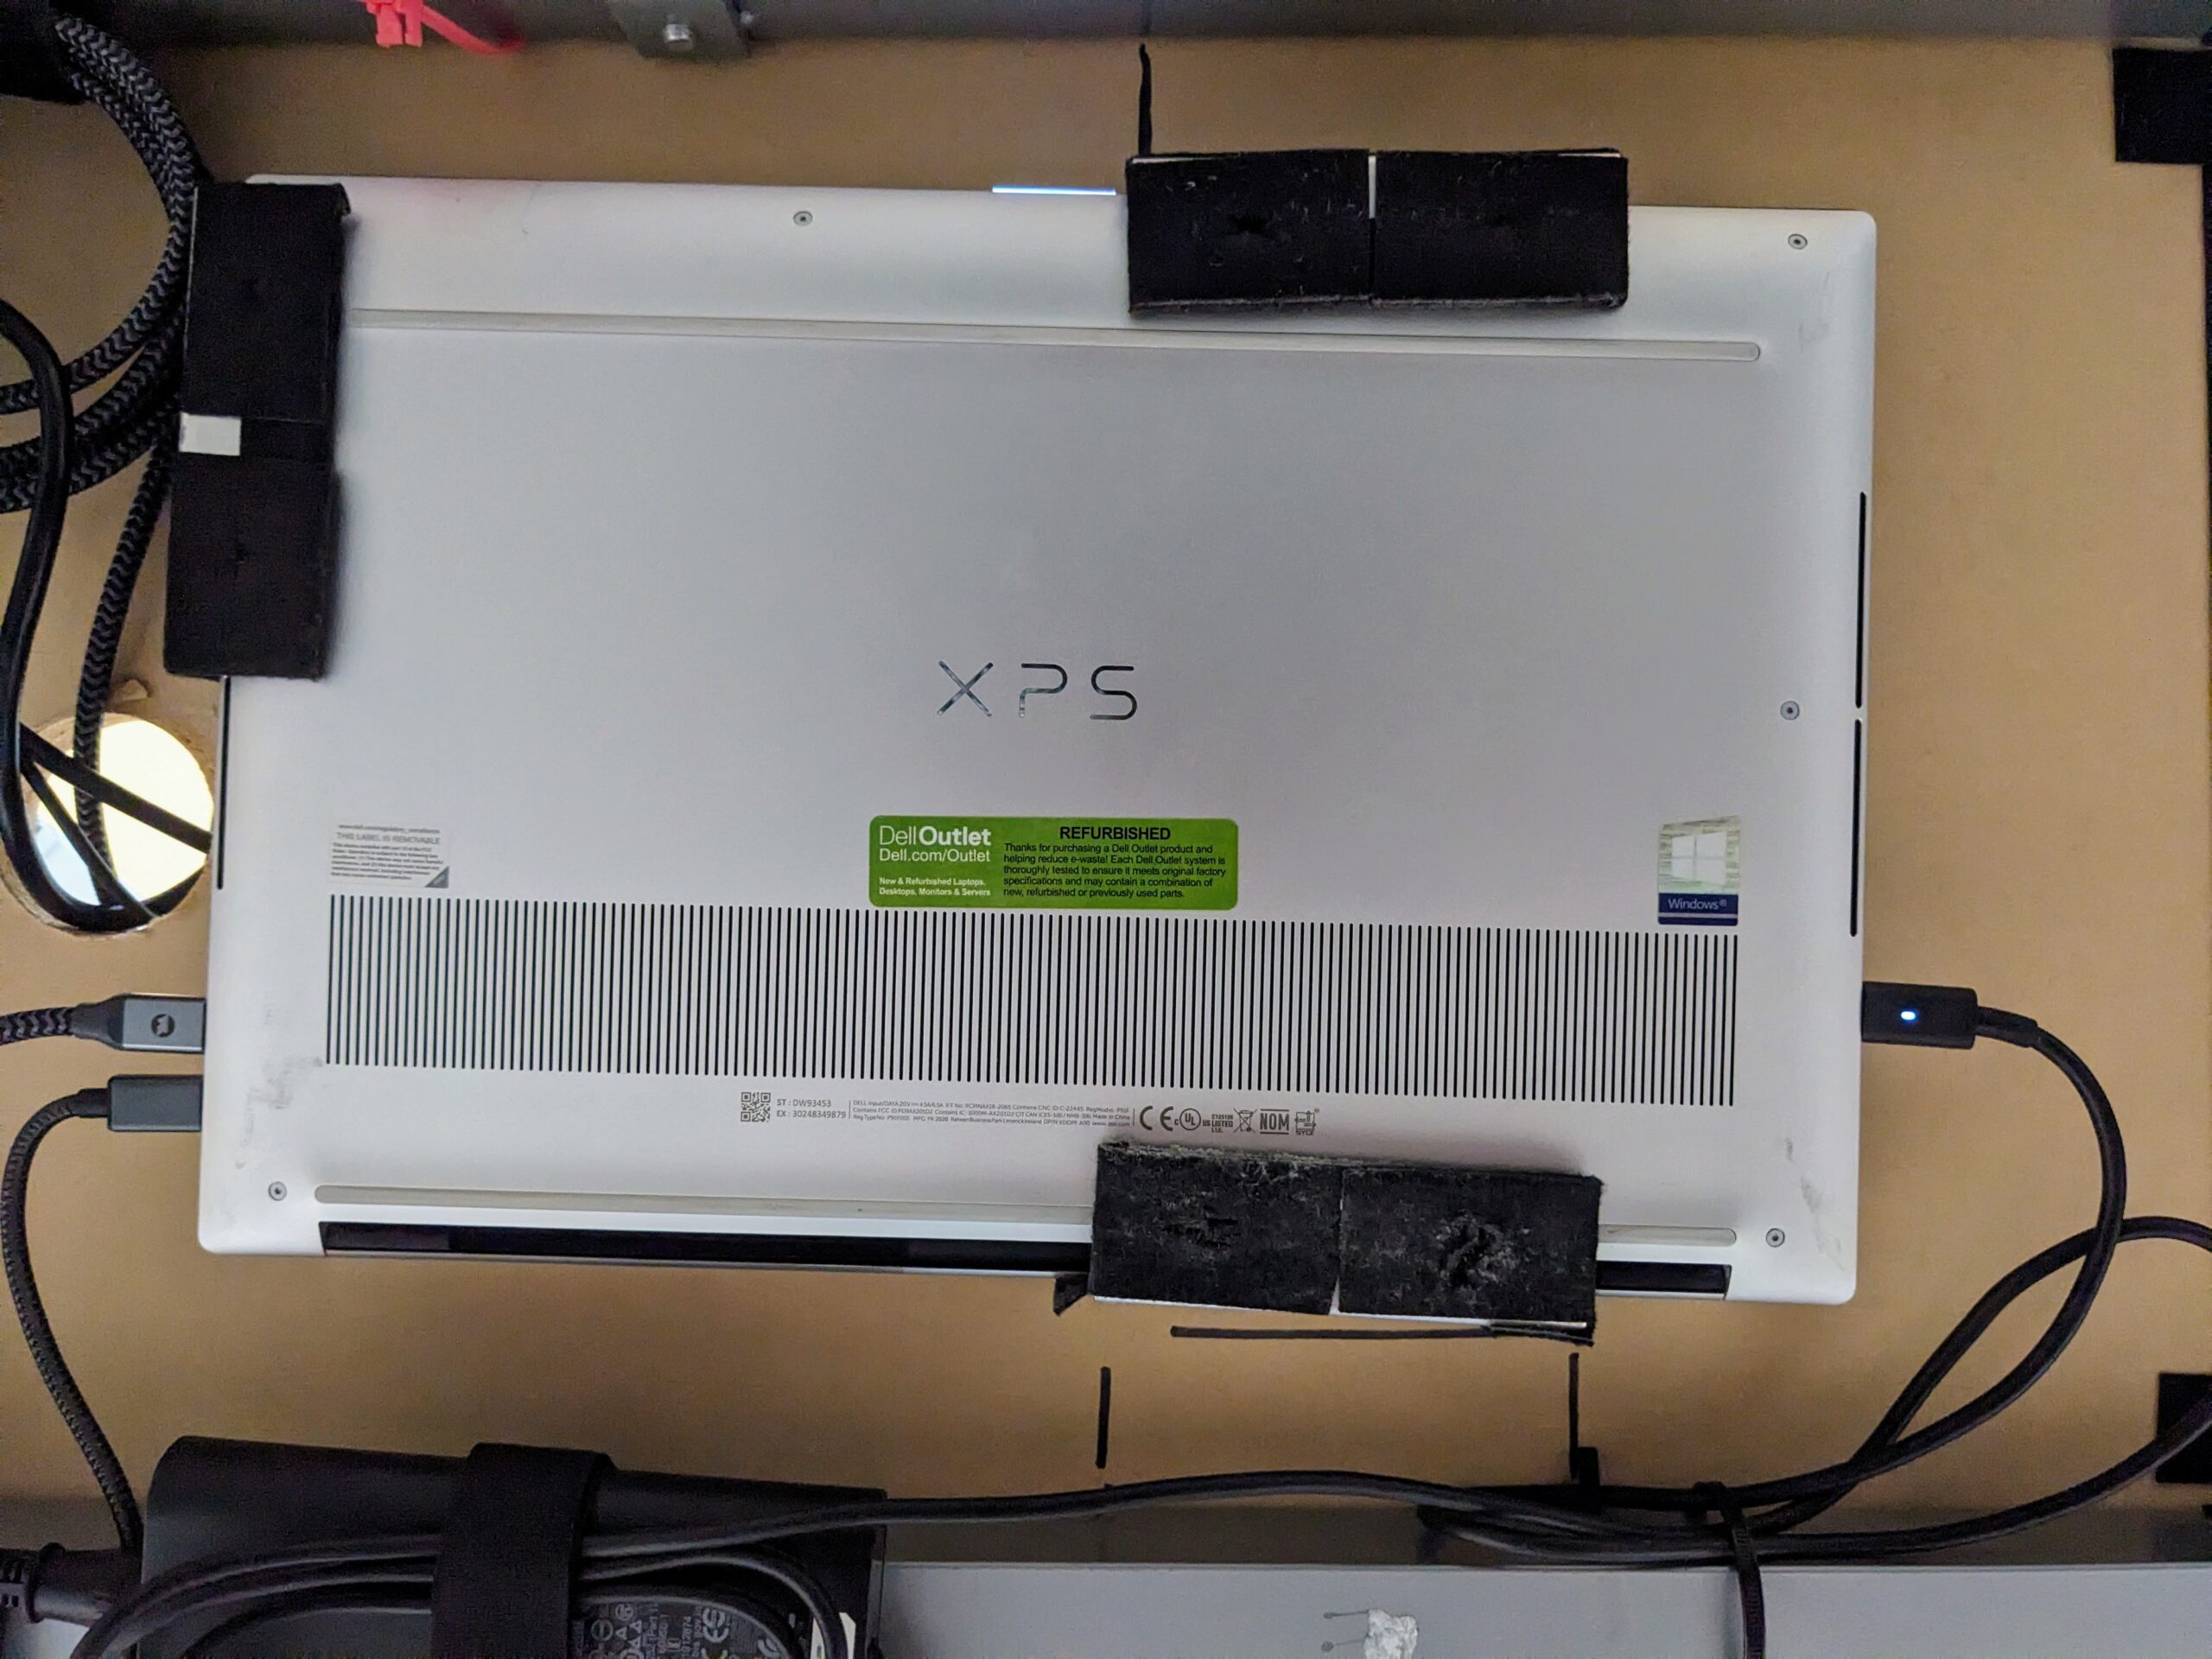
Mounting the laptop under my desk turned out to be one of the things impacting my reliable Wi-Fi reception because I had oriented it faceup so the cooling vents were facing down for max air flow. I didn’t realize at the time but this simple orientation decision made the builtin Wi-Fi antenna’s job much harder because in most modern laptops the antenna is installed in the screen cover.
Impact of Budget Internet Service
Regardless of how good your network router is you will more than likely never reach the max bandwidth speed provided by your ISP. For years at our home we were using Spectrum’s budget internet service capped at 300 Mbps. Even with my laptop 20 feet away from the router, my Wi-Fi download speeds would be 120 to 160 Mbps. Back then I didn’t mind so much since it was reliable.
However, once my office space moved upstairs that reliable Wi-Fi became unreliable and I would frequently see download speed drop to 10 Mbps and I never saw it go above 100 Mpbs. As mentioned earlier My Dell XPS 9500 has with a Killer Wireless AX1650 Wi-Fi 6 adapter, so it’s not exactly outdated hardware but I know I had to find a workaround to get reliable Wi-Fi again.
Wi-Fi Hacks I Tried
Over the years I invested in multiple Wi-Fi boosting methods that more or less helped but the results were mostly underwhelming at least until I upgraded my router.
TP-Link RE500X Wi-Fi Extender
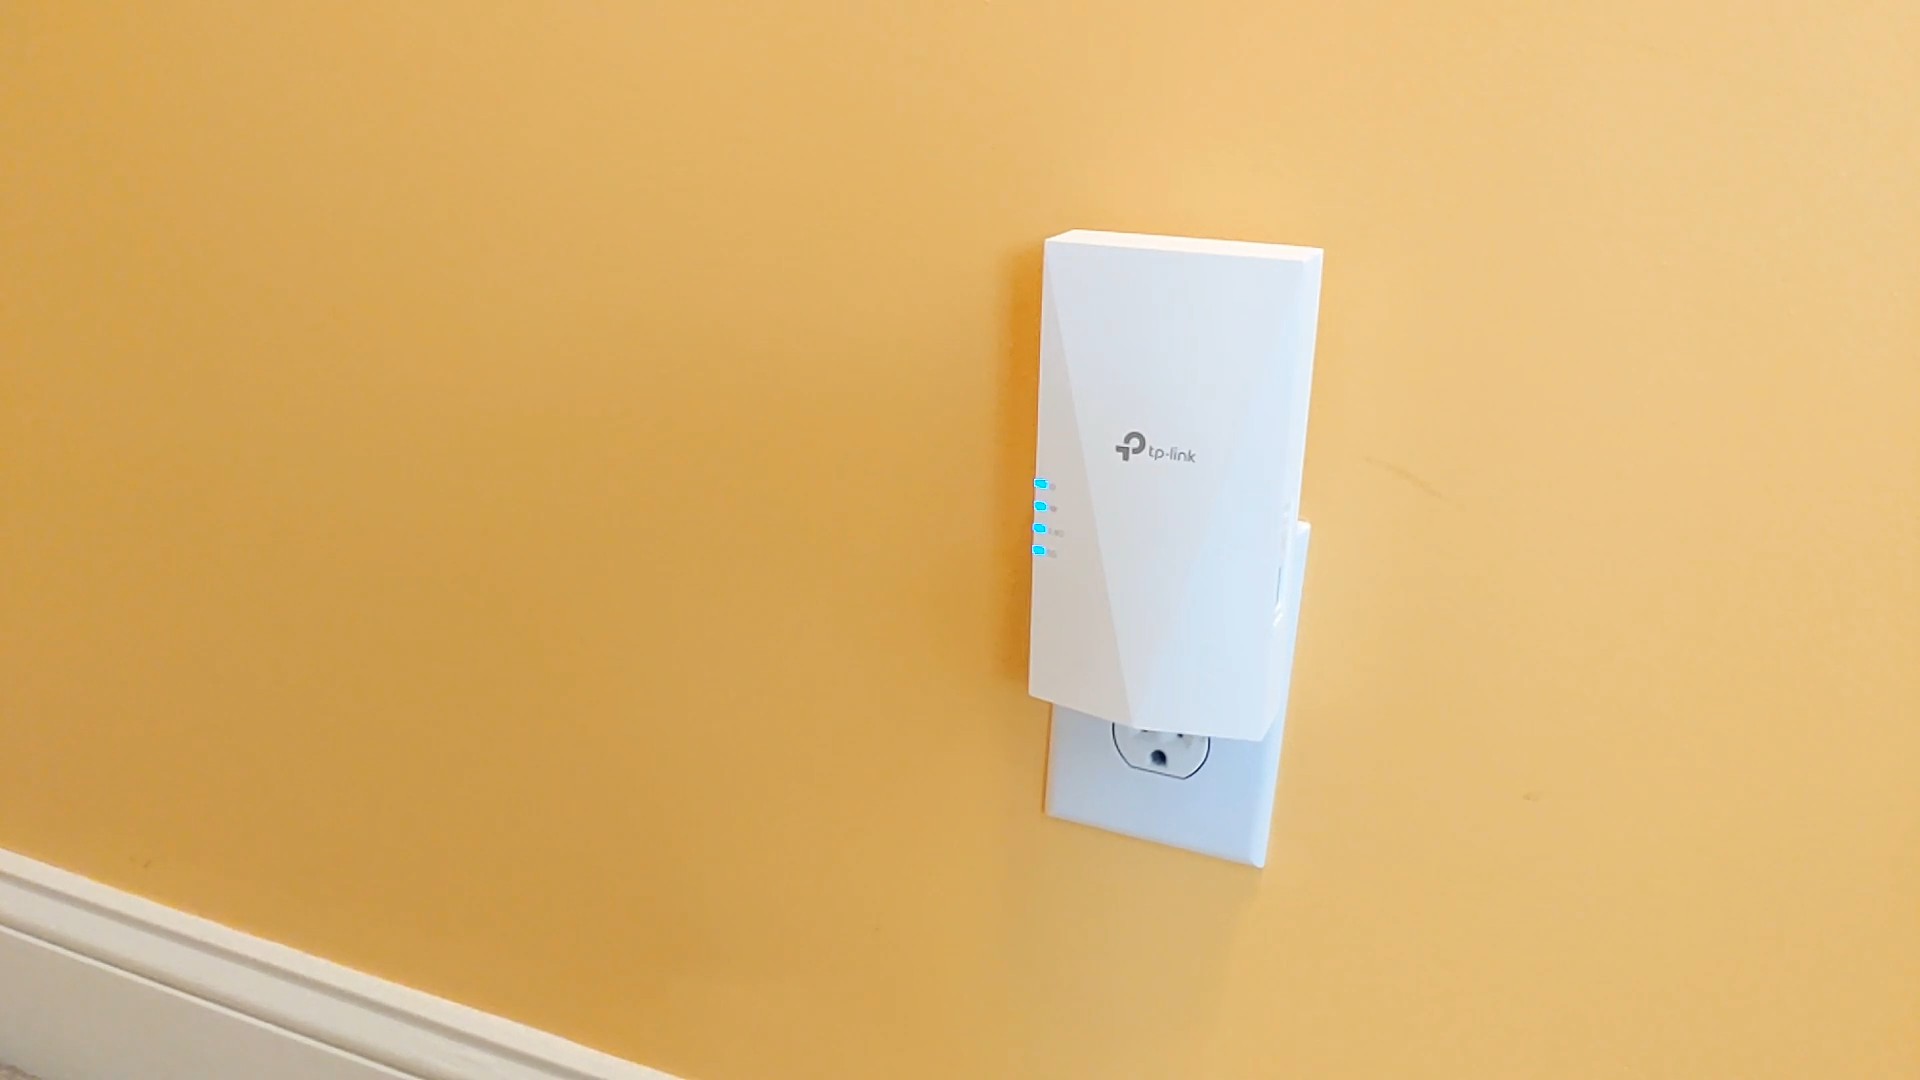
The first method I tried was the TP-Link RE500X, a Wi-Fi 6 extender. It seemed like a reasonable, cost effective starting point, and the setup was simple enough. I initially placed it at the top of the stairs in my home help to bridge the distance between floors but the Wi-Fi signal was still not great when it reached my laptop.
I also tried moving it into my office at the end of a hallway away from the stairs but that didn’t make a major difference either. The TP-Link RE500X was better than nothing. It definitely helped but it wasn’t as good as I had hoped.
TP-Link AV1200 Powerline Adapter
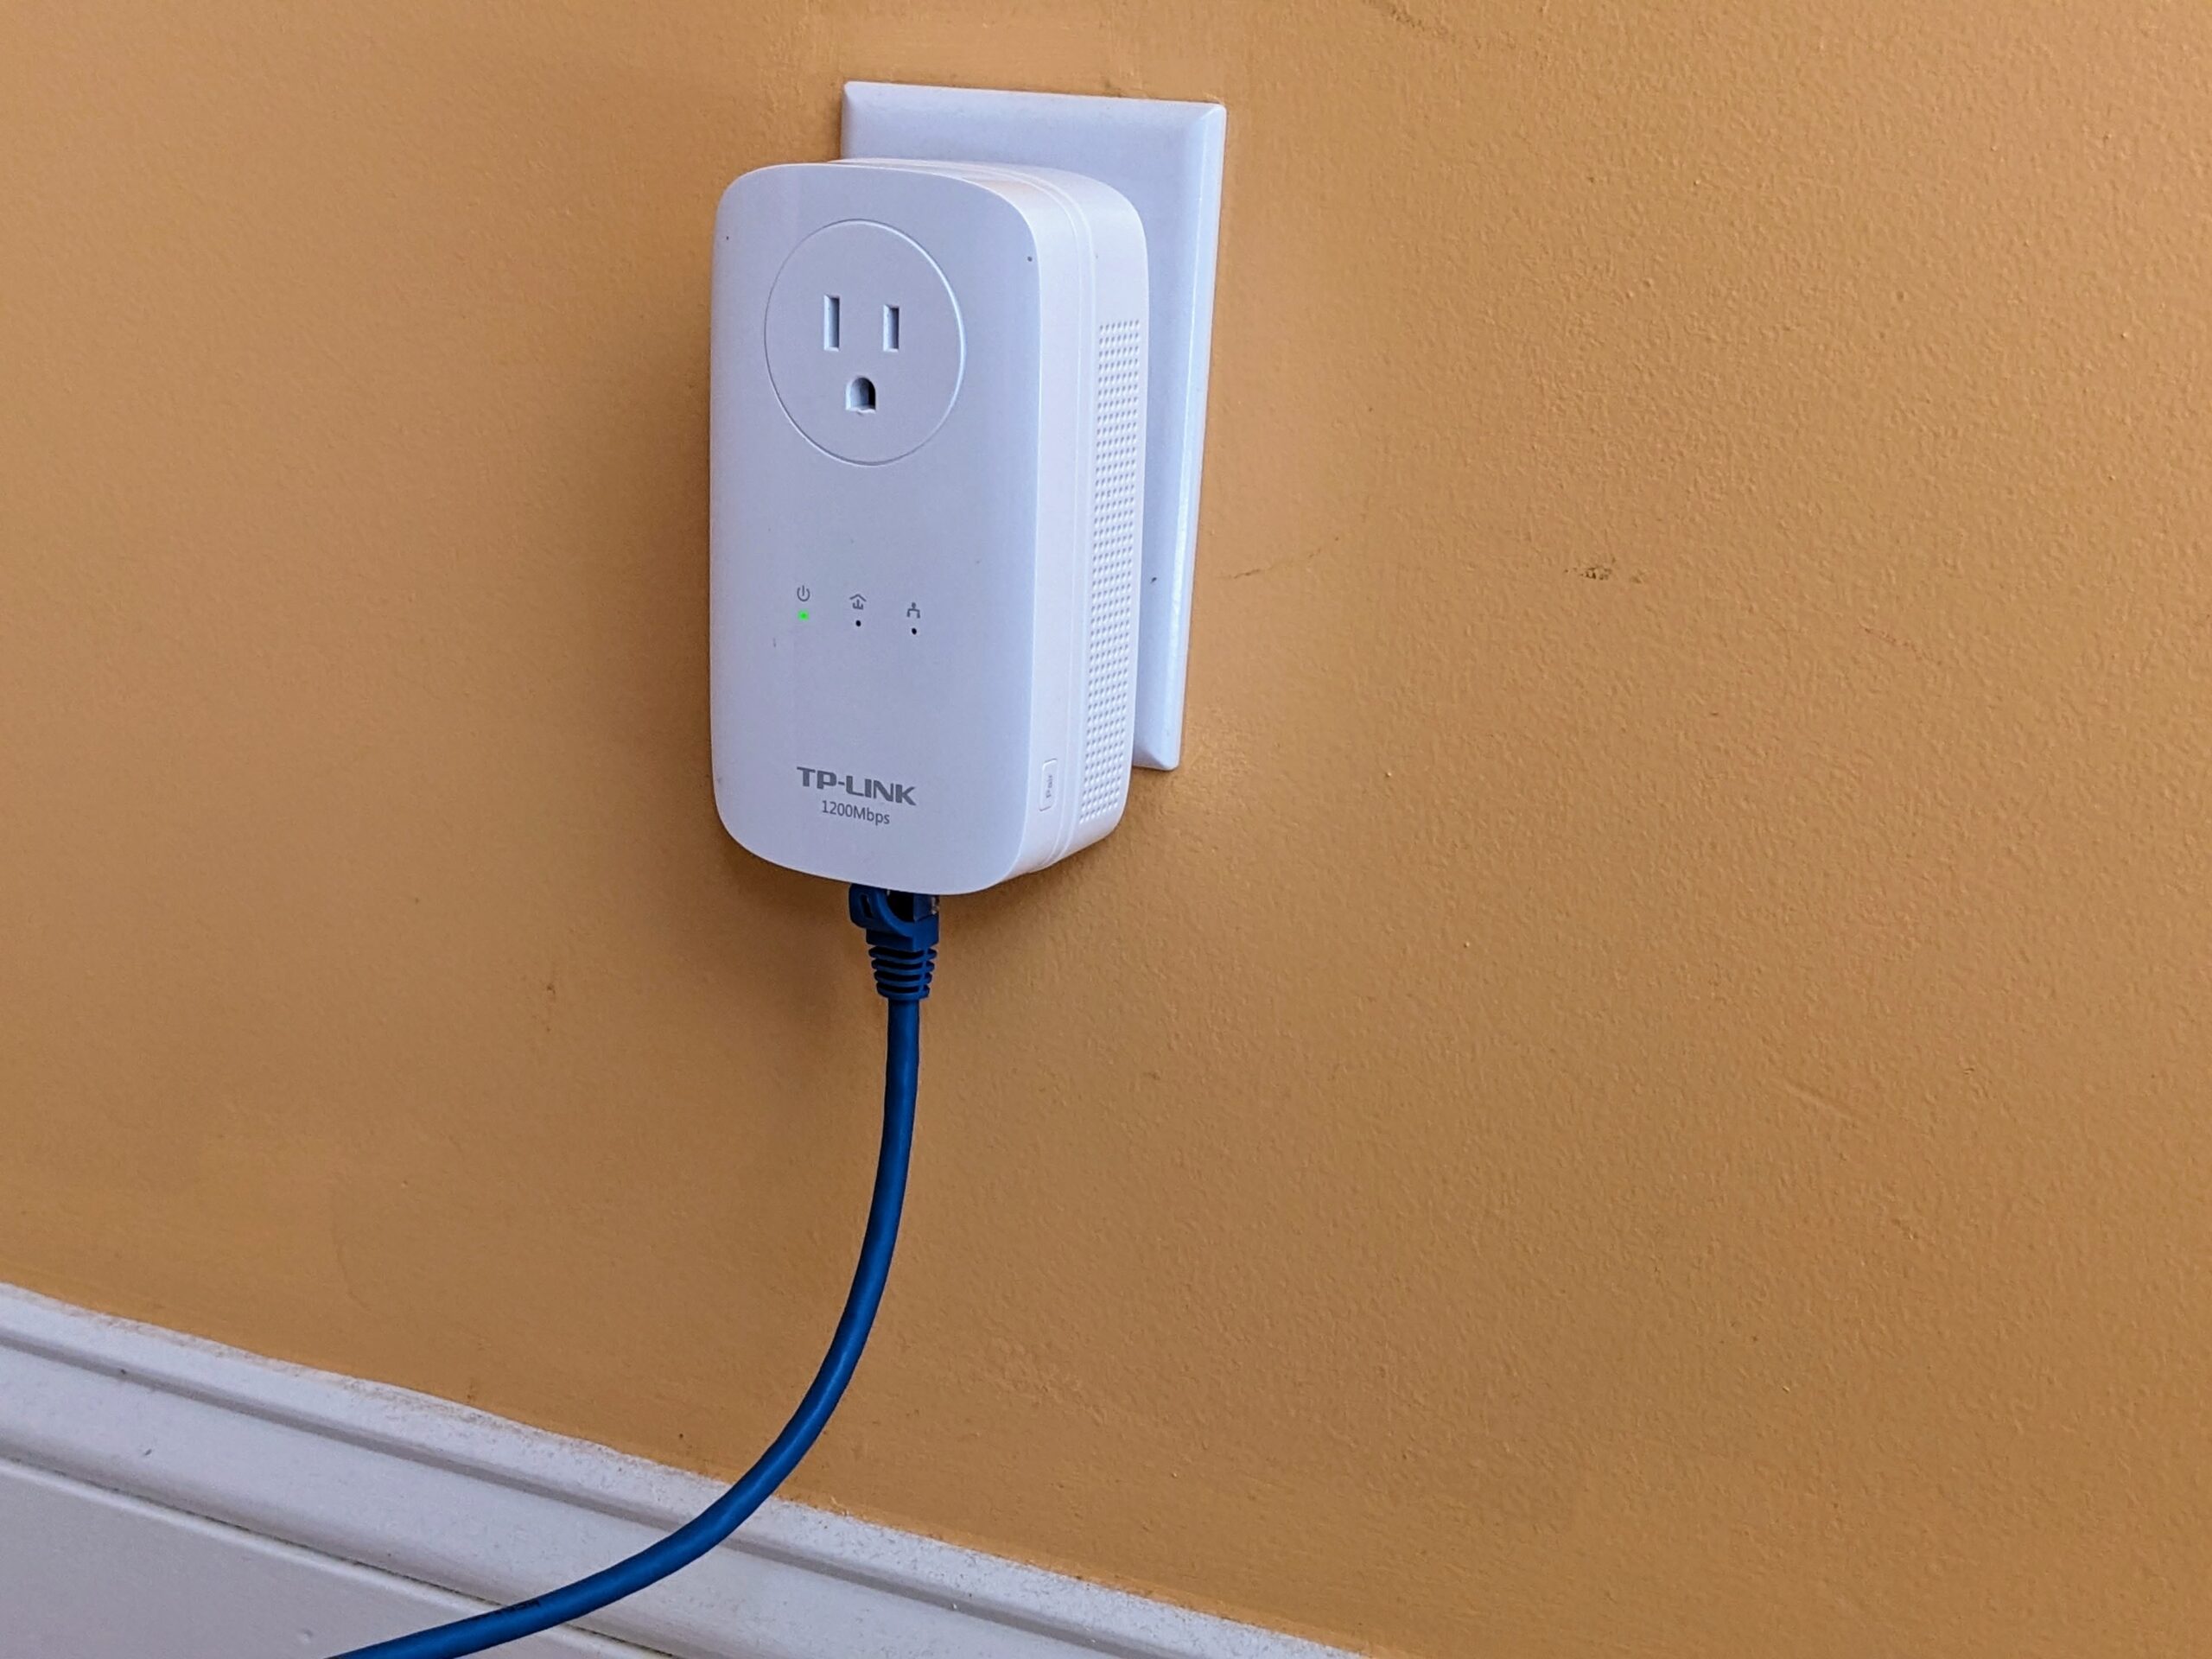
Next, I tried the TP Link AV 1200 powerline ethernet adapter. This is a really cool gadget that turns any AC outlet in your home into a network port. They come in pairs: you plug one into an outlet near your router connected with an ethernet cable and the second one into an outlet somewhere else in your home. Anything you plug into second adapter with an ethernet cable becomes connected to the network. And you can plugin multiple adapters throughout your home.
There are two major caveats with powerline ethernet adapters. First if your home has multiple electrical circuits the signal will be significantly impacted. Second, never plug one of these into a power strip. They need to be plugged directly into the wall outlet or you’ll have signal issues.
The primary drawback with using the powerline ethernet adapter is that it doesn’t offer Wi-Fi so you still need to connect your devices with a network cable.
The best network throughput I got was plugging the TP-Link RE500X into the passthrough power outlet on the front of the AV 1200 and then connecting the network cable between the 2 devices. This setup reliably saw my laptop Wi-Fi get 100 Mpbs download speeds.
Asus BE88u Wi-Fi 7 Router and Wi-Fi 7 Extender

After reading about the impressive Asus RT-BE88U Wi-Fi 7 router with 10G WAN/LAN, Multi-Link Operation (MLO), and AiMesh, I went all-in and paired it with the Asus RP-BE58 Wi-Fi 7 extender. I was hoping this next-gen tech would finally fix my lackluster Wi-Fi speeds upstairs and future proof my network for a while.

- WiFi 7 Standard – WiFi 7 (802.11be) dual-band range extender boosts speeds up to 3600 Mbps, with 4096-QAM increasing a single frequency band’s transmission speed by 1.2 times.
- Multi-link Operation – Link to multiple bands at the same time to ensure stable internet connections and efficient data transfers.
- Works Perfectly with Any WiFi Router — RP-BE58 expands coverage by being compatible with virtually all WiFi routers, modems, and cable routers on the market.
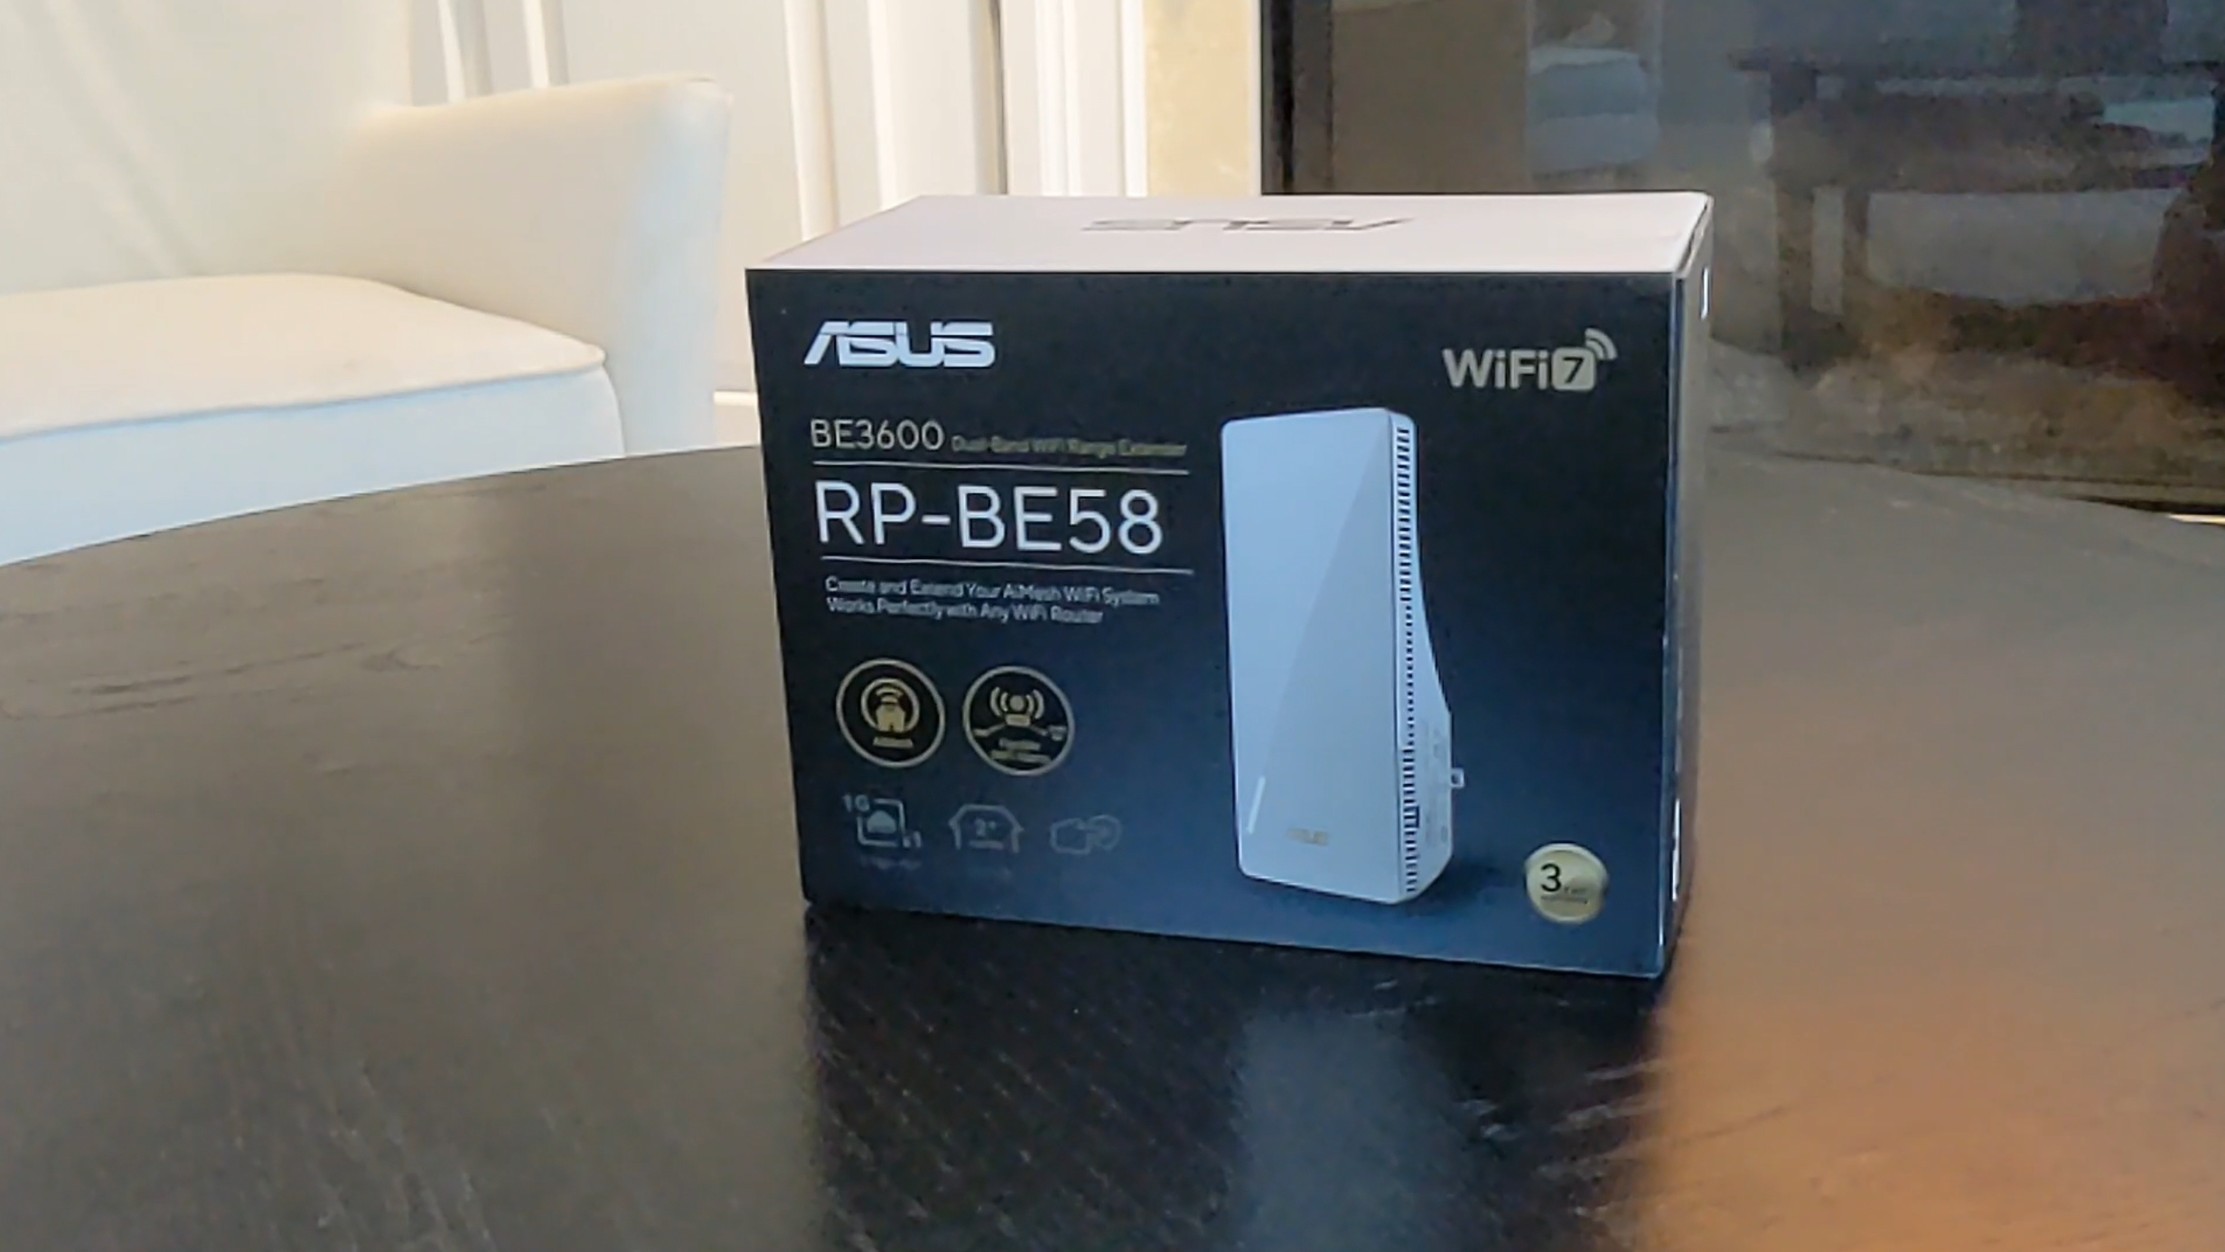
One of the compelling features of the Asus RT-BE88U router is its AiMesh capability. By adding additional mesh nodes to the network, your devices see one seamless Wi-Fi network throughout the house. This means moving your laptop between rooms or upstairs and downstairs it will always be connected without having to switch back and forth between the Wi-Fi network with the best signal like with non-mesh extenders.
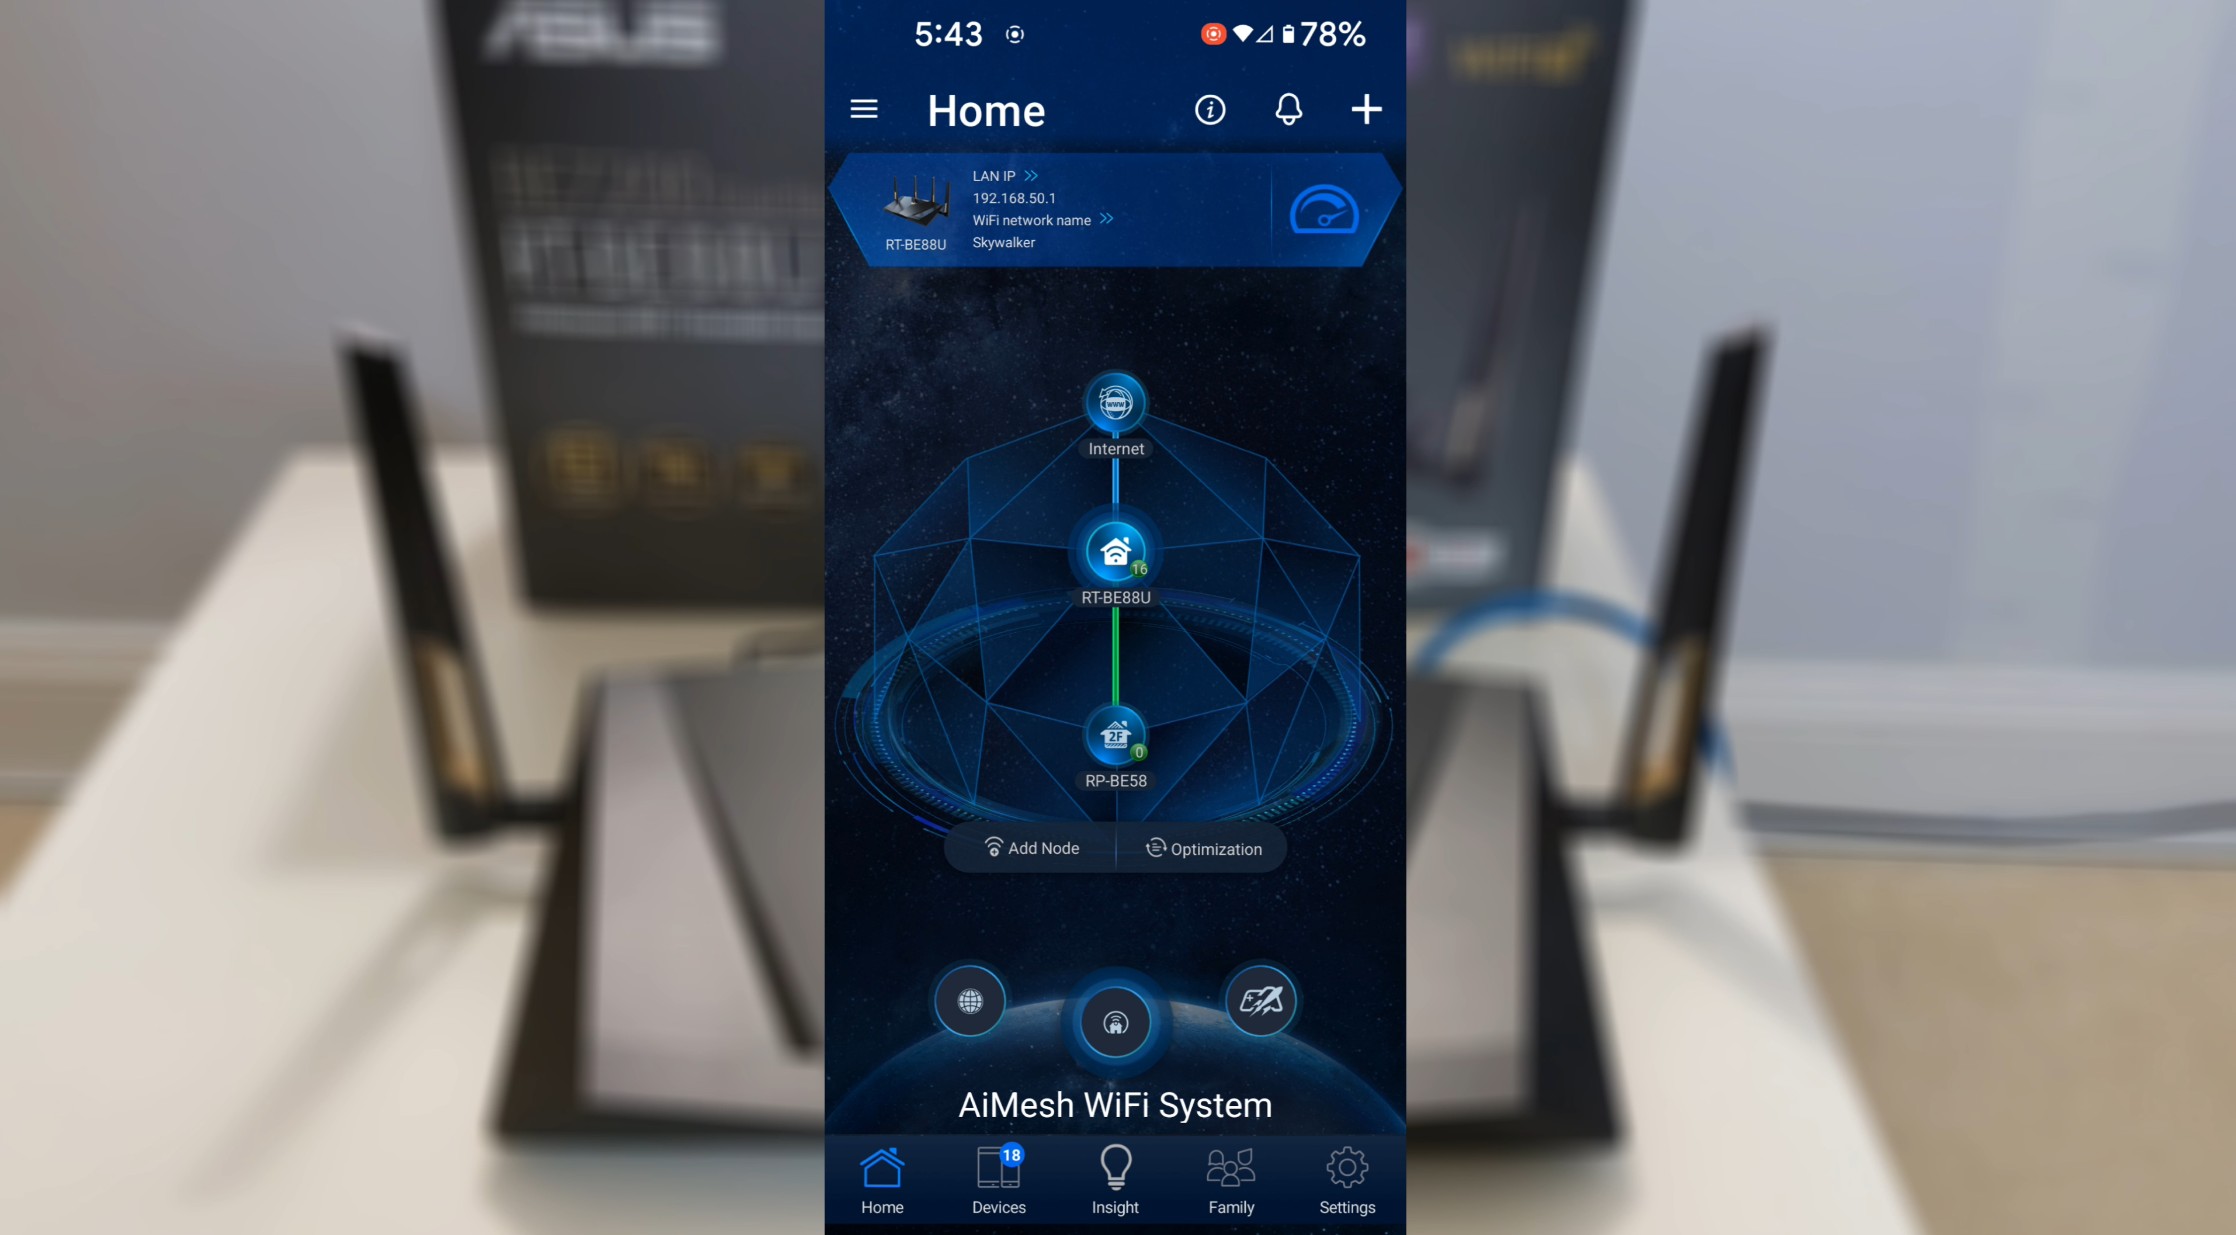
But alas, despite the major network hardware improvements, the download speeds in my office upstairs were mixed at best and ranging 60 to 190 Mbps. At this point I began to think my home was in some kind of Wi-Fi Bermuda Triangle.
But then Google Fiber arrived in my neighborhood and they were offering 1 gigbit internet speed for $30 per month less than I was paying Spectrum for only 400 Mbps. Spectrum must have know what was coming because a year ago they offered us a free 100 Mbps bump on our service.
Wi-Fi Breakthrough: The Ethernet Backhaul Hack
Switching to Google Fiber’s 1 Gbps plan gave our home’s network significantly more bandwidth, but it didn’t magically fix the situation in my office upstairs. I was still seeing massive bandwidth swings throughout the day, with speeds dipping down to 40-50 Mbps and occasionally spiking up to 300 Mbps.
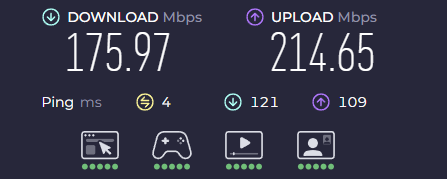
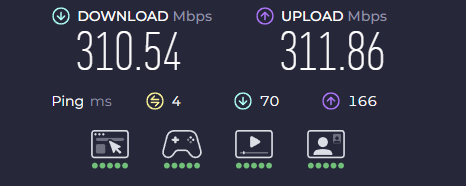
After doing more research with Grok and Gemini, I discovered the Asus RP-BE58 Wi-Fi extender had a powerful feature called wired backhaul. I learned that if I could run an ethernet cable directly from router to the extender, the Wi-Fi signal would be nearly as fast and stable as if my laptop were sitting right next to the router downstairs.
At this point, the obvious challenge was figuring out how to connect an ethernet cable between the router and Wi-Fi extender. Snaking the cable through the house, up the stairs, and into my office would not only look ridiculous but also be a hazard to anyone walking around.
Fortunately the layout of my home actually worked in my favor. First, my office sits directly above the garage and it has a storage cubby with an exposed plywood floor that could provide easy access into the garage space below. Second, my home is built on a crawl space and during a previous visit down there I had spotted where the Google fiber-optic cable had been routed. And there was already a utility hole drilled through the garage drywall into the crawl space, so this gave me a clear picture where to route my new ethernet cable for the wired backhaul between the router and the Wi-Fi extender.
With a visual blueprint in my mind, I pulled out a tape measure and mapped out a path for the cable. Starting from the room with the router, it would dive through the drywall and plywood floor into the crawl space, traverse the width of the house, and then go through the garage drywall. From there it would run along the garage wall and then up into the cubby space in my office, finally ending at the wall outlet where I had attached the Wi-Fi extender. According to my calculations I needed approximately a 100 ft ethernet cable to account for the various twists and turns along the way.
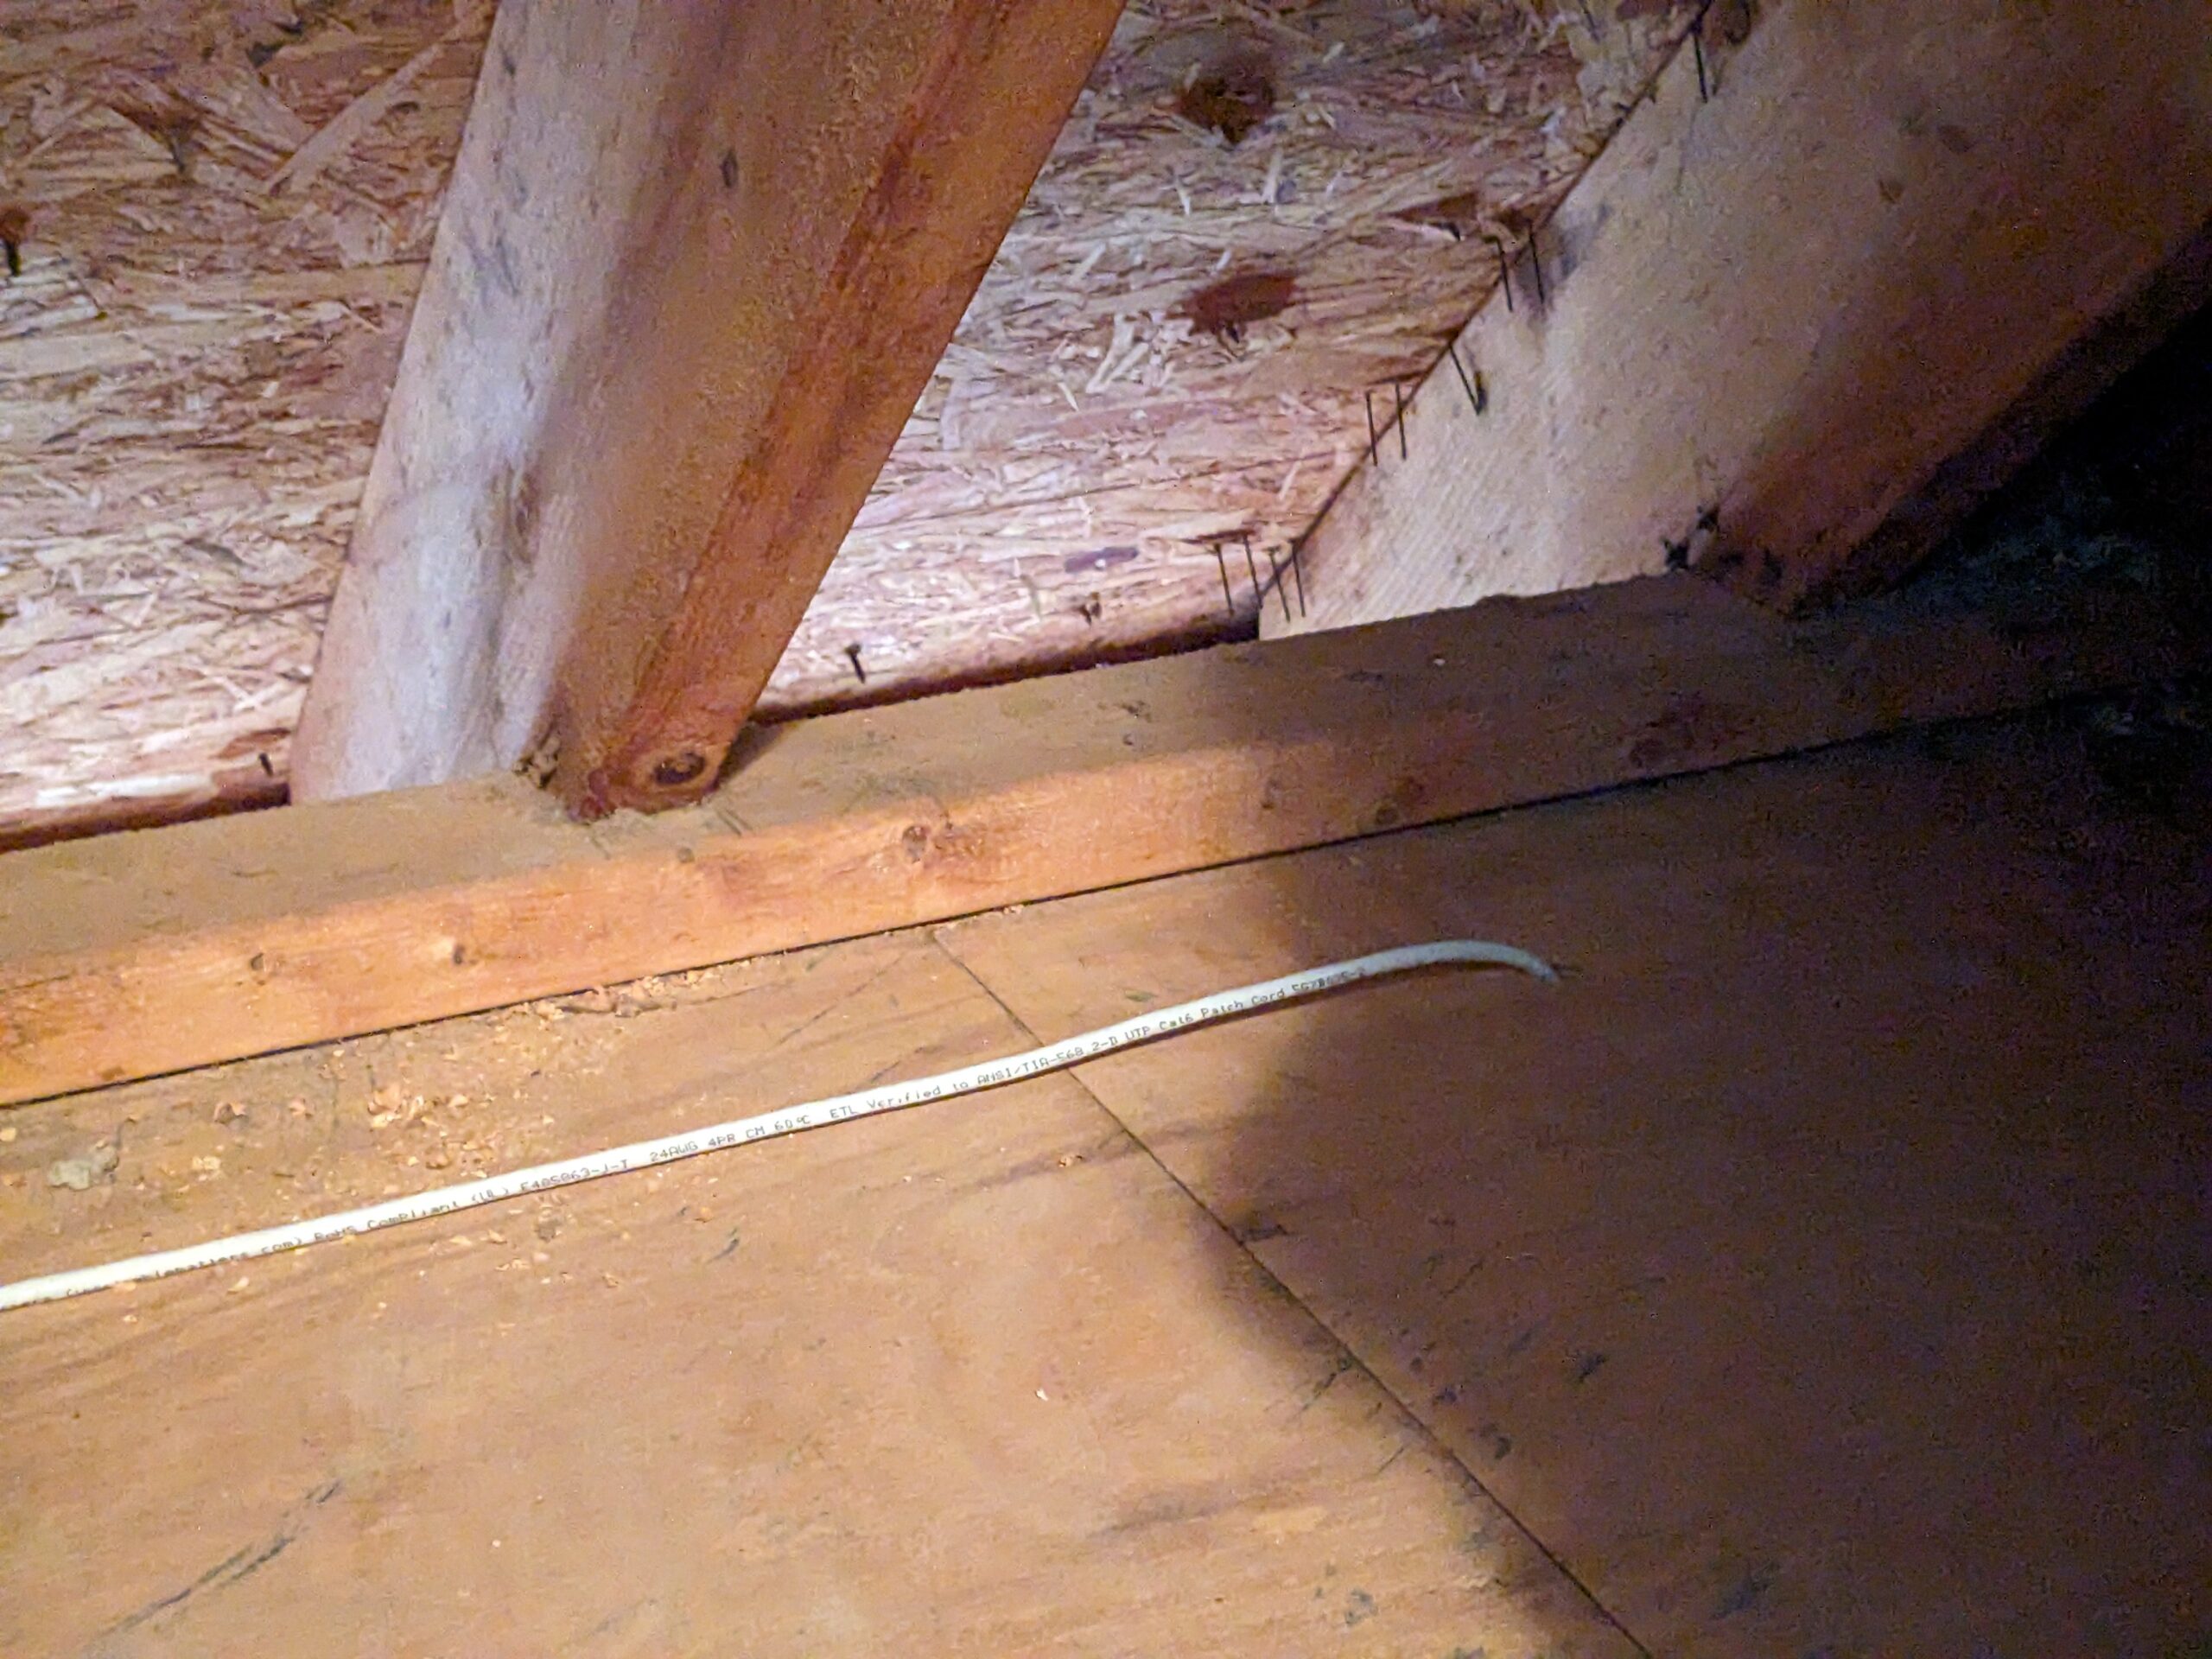
I double checked with Grok and Gemini, and they both confirmed that a standard Cat 6 UTP (unshielded twisted pair) cable would be suitable for this run with negligible interference. So, first I drilled a hole through the drywall near the router. Then, from inside the crawl space I drilled upward through plywood floor of that room. With the holes nearly aligned, I fished a line through them so I could guide the ethernet cable up and into the room once it was ready. Next, I drilled a hole in the cubby closet plywood floor and another through the garage ceiling dry wall.
I planned to leave the ethernet cable exposed while running through the garage but I secured it to the drywall with cable clips. Then came the challenging part of fishing the ethernet cable through these tight spaces, through the garage, and through the crawlspace, one inch at a time.
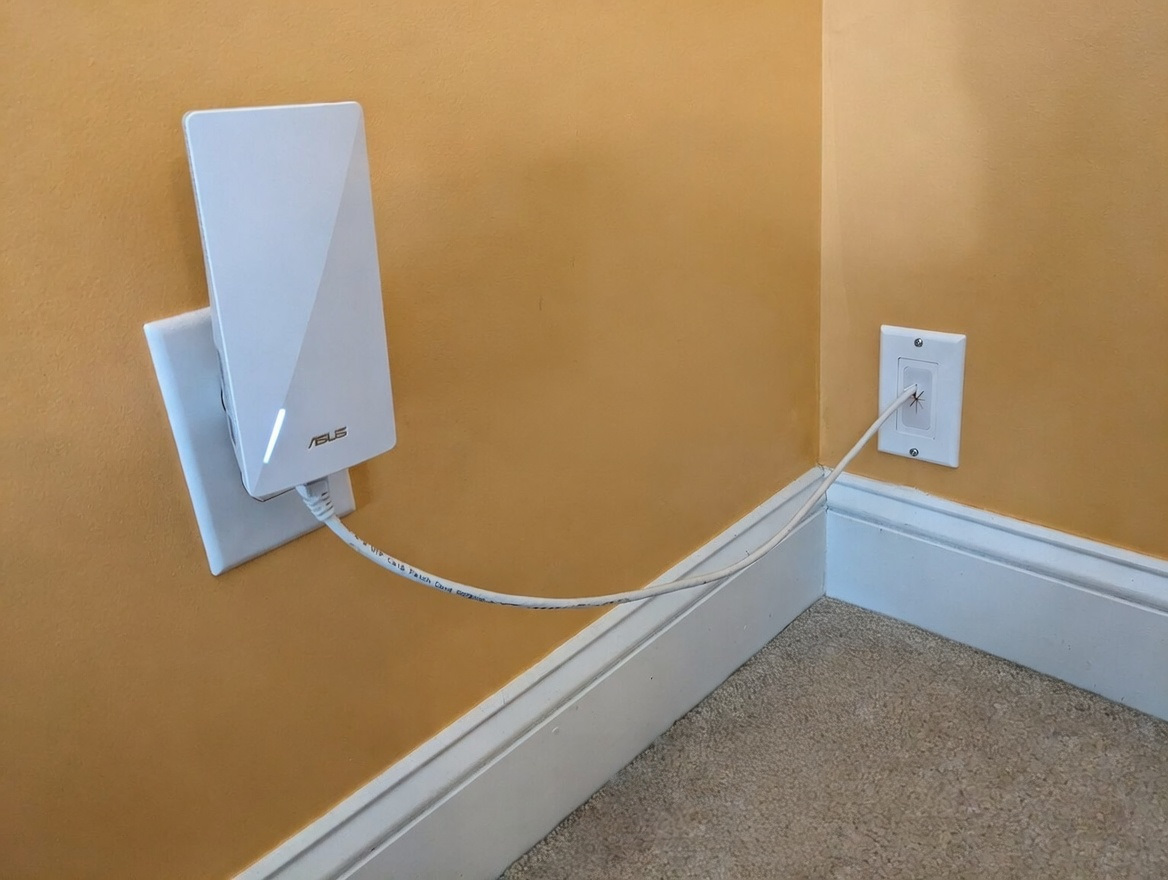
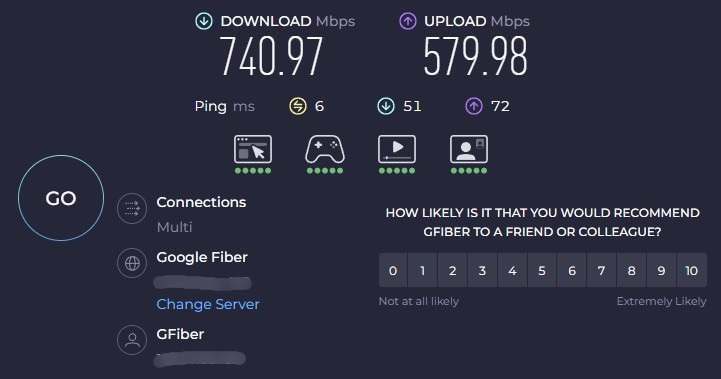
But in the end it was well worth it. My office Wi-Fi speeds are significantly better. Sometimes the download speeds are even over 700 Mbps. For reference, when I connected my laptop directly to the router with an ethernet cable the speeds approached 850+ Mbps so 600-700 Mbps over Wi-Fi was nice to see.
The Surprising Impact of Laptop Placement Near the Wi-Fi Extender
The final performance boost turned out to be simple. I had originally mounted my laptop flat against the underside of my desk, face-up. I had done this so the vents could pull air below for optimal cooling but the unintended consequence was that it effectively pointed the Wi-Fi antenna into my desk. It turns out in modern ultra thin laptops the Wi-Fi antenna is located within the screen cover.
Once the laptop was hanging vertically on the side of my desk facing outward toward the extender my speeds improved even more. It felt almost too simple after years of frustration but the most significant improvement came from configuring the wired backhaul.
In Summary
The takeaway from my Wi-Fi journey is that short of buying next-gen hardware with native Wi-Fi 7 support, there’s rarely a single fix for Wi-Fi headaches. And faster internet won’t fix a poor Wi-Fi reception. You’ve got to figure out how the signal moves in your space, and sometimes, the best solution may be a combination of things you didn’t expect. Thanks for reading.
Frequently Asked Questions
What is wired backhaul?
Wired backhaul involves connecting an ethernet cable between your Wi-Fi extender and your router as opposed to communicating between the devices wirelessly. Typically, when you have an extender it communicates with the router wirelessly and experiences a “loss of signal” due to both your devices communicating between walls and floors. Using a wired backhaul provides a dedicated, high-speed “super highway” for all data to travel between devices. It also guarantees that the extender will receive 100 percent of your internet speed, and that there will be no bottleneck from the wireless signal, ultimately converting a simple “booster” into a robust, high performance access point.
How does positioning a laptop affect Wi-Fi signal strength and download speeds?
The place where you set up your laptop can make a huge difference when it comes to Wi-Fi performance. Hang my laptop flat under my desk was a great space saver but the Wi-Fi antennae embedded in the screen cover was facing up into the desk.
The best placement for laptop Wi-Fi reception is to orient the screen in the direction signal such as having a laptop on the side of your desk instead of underneath it.
What are the pros and cons of Wi-Fi extenders versus powerline adapters for enhancing home network performance?
Choosing a Wi-Fi extender versus a powerline adapter is a compromise between ease of establishing a signal and being dependent on the wiring in your house. Wi-Fi extenders are convenient and easy to set up, however due to the laws of physics, they can only duplicate the signal that is received, and therefore they will always experience some level of degradation due to both the number of walls and distance. On the other hand, Powerline adapters send your data over your homes electrical wiring which provides a much more reliable “wired” connection to the remote room(s) you want to reach. The disadvantage of using powerline adapters is that they can provide an unreliable connection depending on what type of wiring has been installed in your home, how much electrical noise is generated by various household appliances, and the configuration of circuit breakers in your home.
Can upgrading to a Wi-Fi 6 or Wi-Fi 7 router make a significant difference in overcoming signal issues?
Upgrading to a Wi-Fi 7 router will greatly improve your signal quality using larger bandwidths and Multi-Link Operation (MLO) for each device to communicate with the network on multiple bands at once to reduce latency and get around interference. The key thing to keep in mind however is that only devices designed for the new Wi-Fi 7 standard will be able to take advantage of these capabilities; legacy laptops, old mobile phones, smart home appliances etc., cannot see or support newer features of Wi-Fi 7.


