Wait, what? Yes that’s right Microsoft’s powerful web server Internet Information Services (IIS) 10 has been hiding on your Windows 11 (and Windows 10) laptop all this time just waiting for you to install it. IIS 10 lives within Windows 11 as an integrated feature which users can enable at any time. IIS 10 exists as a built-in component of your operating system although it remains hidden as an optional feature that just needs needs activation within the Control Panel.
The setup process requires no complex downloads or third-party installations because users can activate it through the Control Panel or Windows Features dialog. The professional-grade web server exists within easy reach of any Windows user through just a few clicks on their Windows 11 laptop or desktop. That’s right, the capability to test web applications locally and host small websites has been present in Windows 11 since its release. And there really is no installation process to step through although this blog post will guide you through the straightforward process to get it installed and configure websites and application pools right on your personal laptop or desktop.
IIS 10 on Windows 11 – But Why?
Installing IIS 10 on Windows 11 is essential for developing web applications because it provides a local testing environment that can simulate a production configuration. Obviously it’s not production. You’re not going to host live applications on your laptop or desktop, but it provides developers an invaluable sandbox environment to test things out before going to production. If you’re fortunate enough to be developing applications in a large corporate environment then perhaps it won’t be as valuable to you, but for smaller scale operations or SOHO consultants running IIS 10 on your Windows 11 PC can be indispensable. It can function as part of your development pipeline to detect configuration problems and performance issues and production-like bugs before your code reaches live servers where QA or production users will interact with it. Testing your application in a production-like environment without impact allows you to try out new features and literally break things without causing system downtime. This methodology will ultimately lead to more reliable and smoother production deployment.
Preparing Windows 11 for IIS 10 Installation
It goes without saying before installing Internet Information Services (IIS) 10 on Windows 11 ensure your system is up to date on patches and hotfixes. Go the extra step to create a restore point too but it’s not absolutely necessary. There aren’t any specific perquisites to installing IIS 10 on Windows 11. Due to the fact that Windows 11 has higher baseline requirements than previous Windows versions, if your laptop has Windows 11 then you are 99% able to install it. It won’t even require much additional disk space to install.
Backup and Restore Points
Having a system restore point in place before installing IIS 10 on Windows 11 acts as a protective measure for potential problems. Open the Windows search bar to type “Create a restore point” and select the corresponding result.
Click the “Create” button within the System Properties window to create a new restore point. Assign a descriptive name to this restore point as “Pre-IIS Install” to help you locate it later if required.
Step-by-Step Installation of IIS 10 on Windows 11
To install Internet Information Services (IIS) 10 on Windows 11, you need to enable the Windows feature and make a few a few configuration selections. The installation process is really straight forward but it goes without saying you need to know what you’re doing and what you’re selecting.
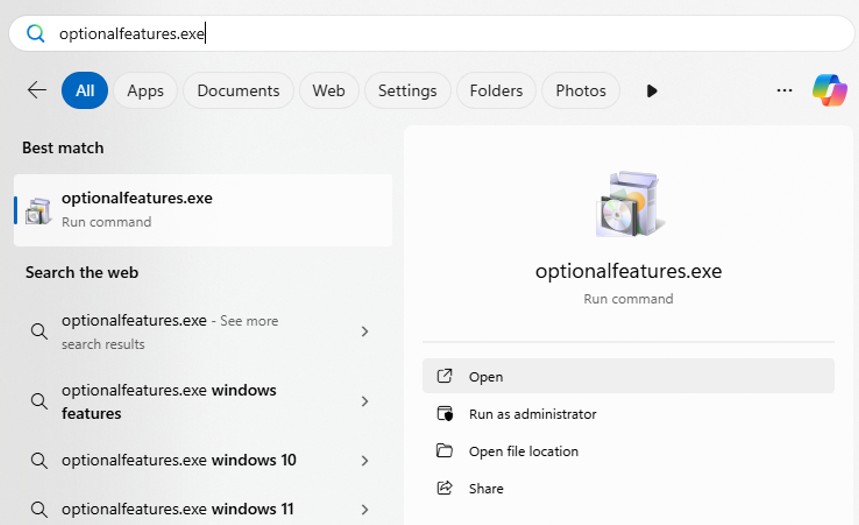
The Add – Remove Windows Features dialog is accessible through two methods: using the Windows Search for Control Panel followed by navigation to Programs > Programs and Features > Turn Windows features on or off or by using the Run dialog with “optionalfeatures.exe” to open the Windows Features dialog directly. The Windows Features dialog shows all optional components available for installation on my Windows 11 system. The “Internet Information Services” entry exists within this list at its middle position.
Enabling IIS Components
You need to expand the Internet Information Services option by clicking the plus (+) sign that is located next to it. Several subcategories of components appear after this expansion.
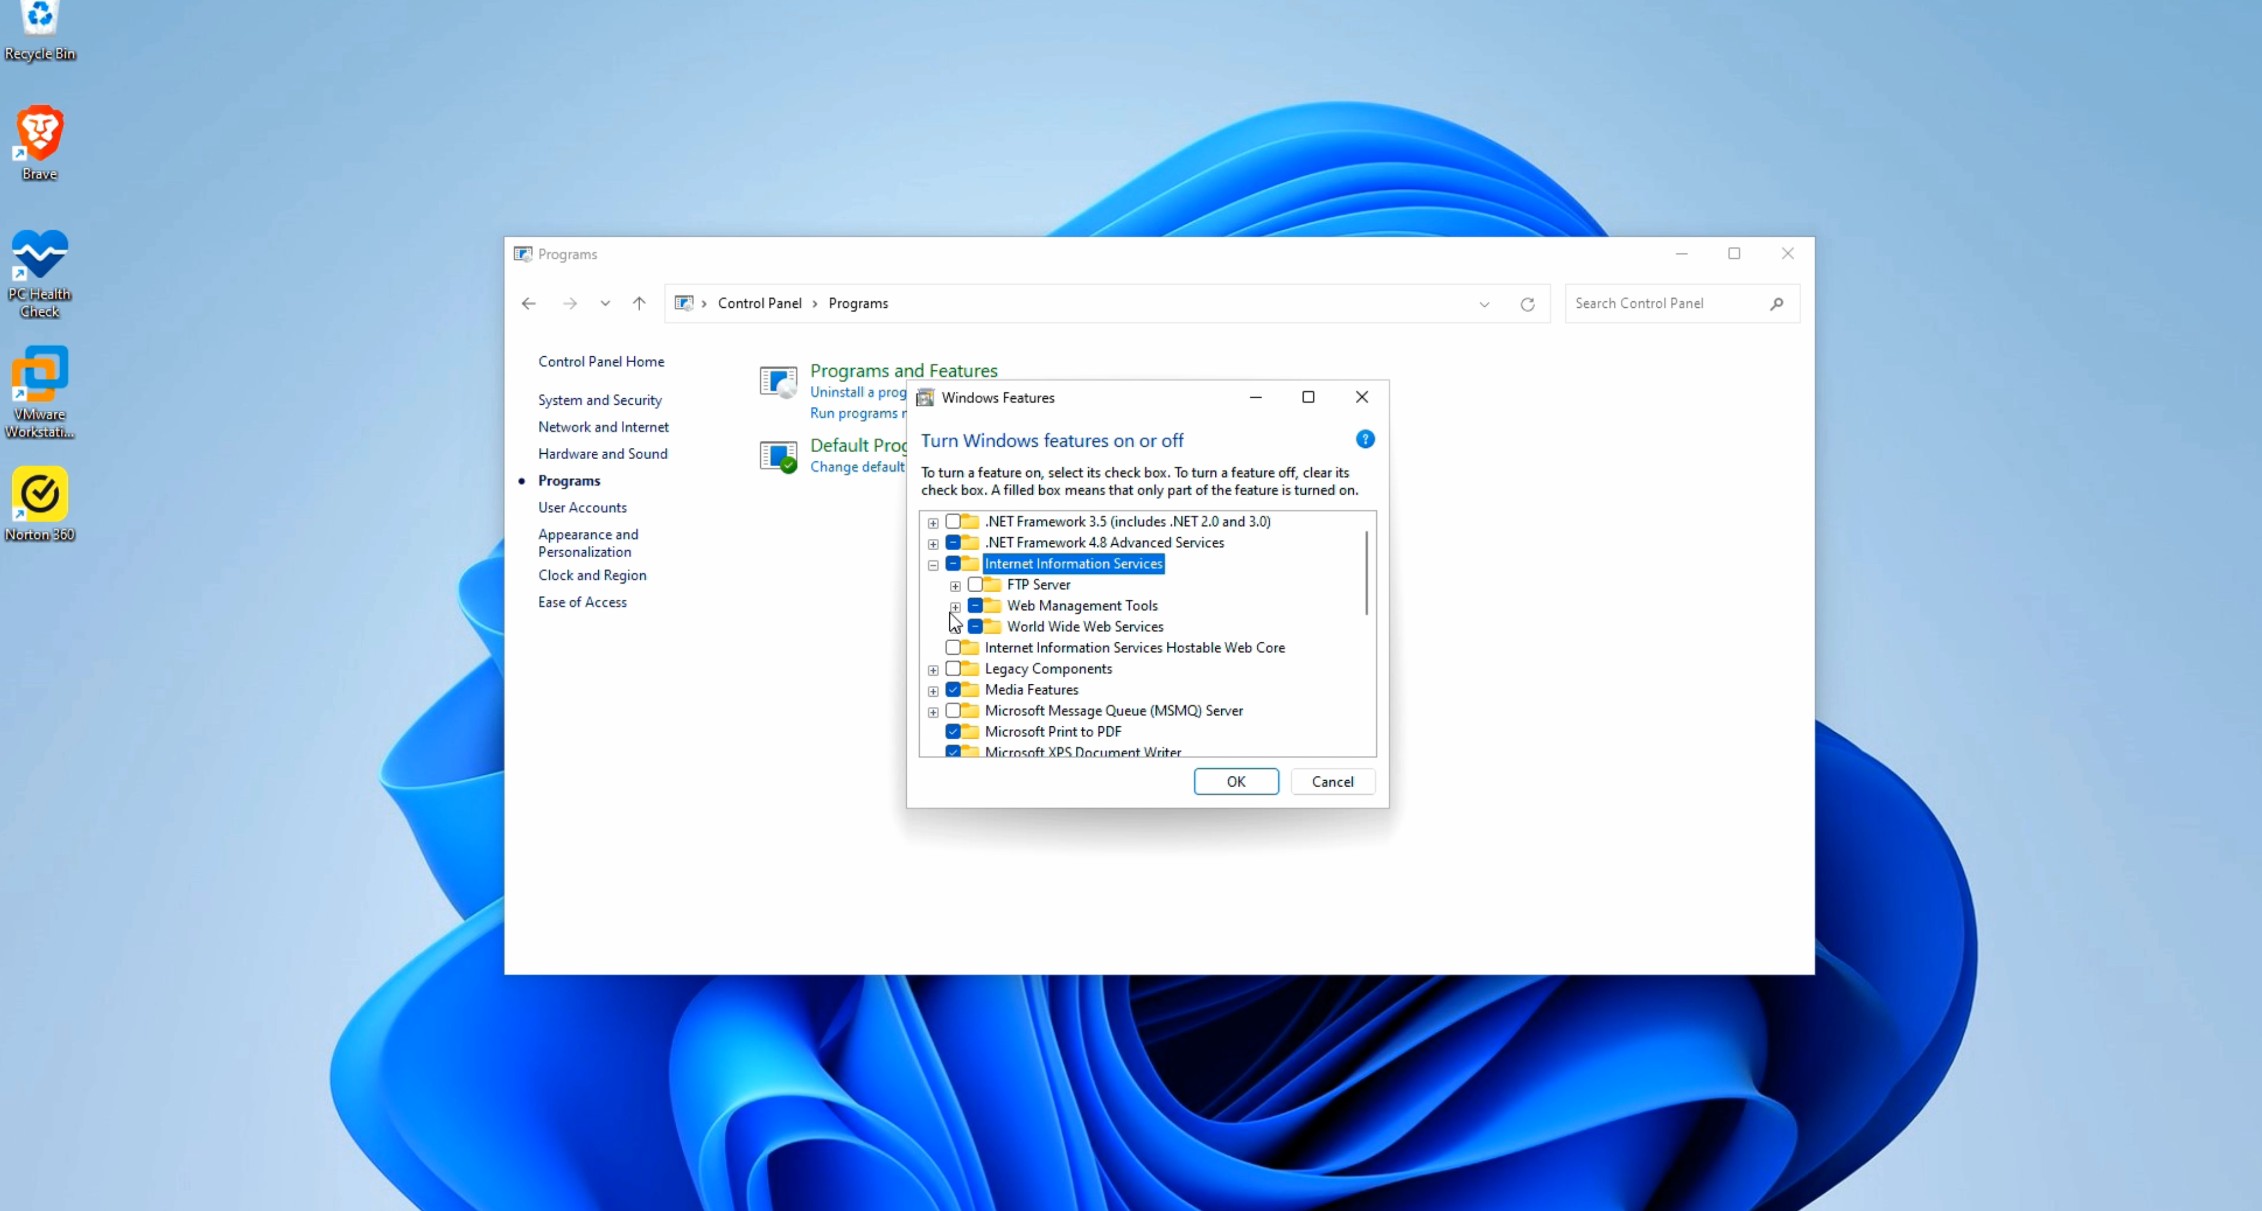
The essential components to select include:
Web Management Tools → IIS Management Console
World Wide Web Services → The following sub-components:
- Common HTTP Features (all options)
- Application Development Features (select based on needs)
- Health and Diagnostics
- Security
Select “.NET Framework 4.8 Advanced Services” → “ASP.NET 4.8” if I intend to develop with ASP.NET.
Click “OK” to start the installation after choosing our desired components.
Configuration Settings
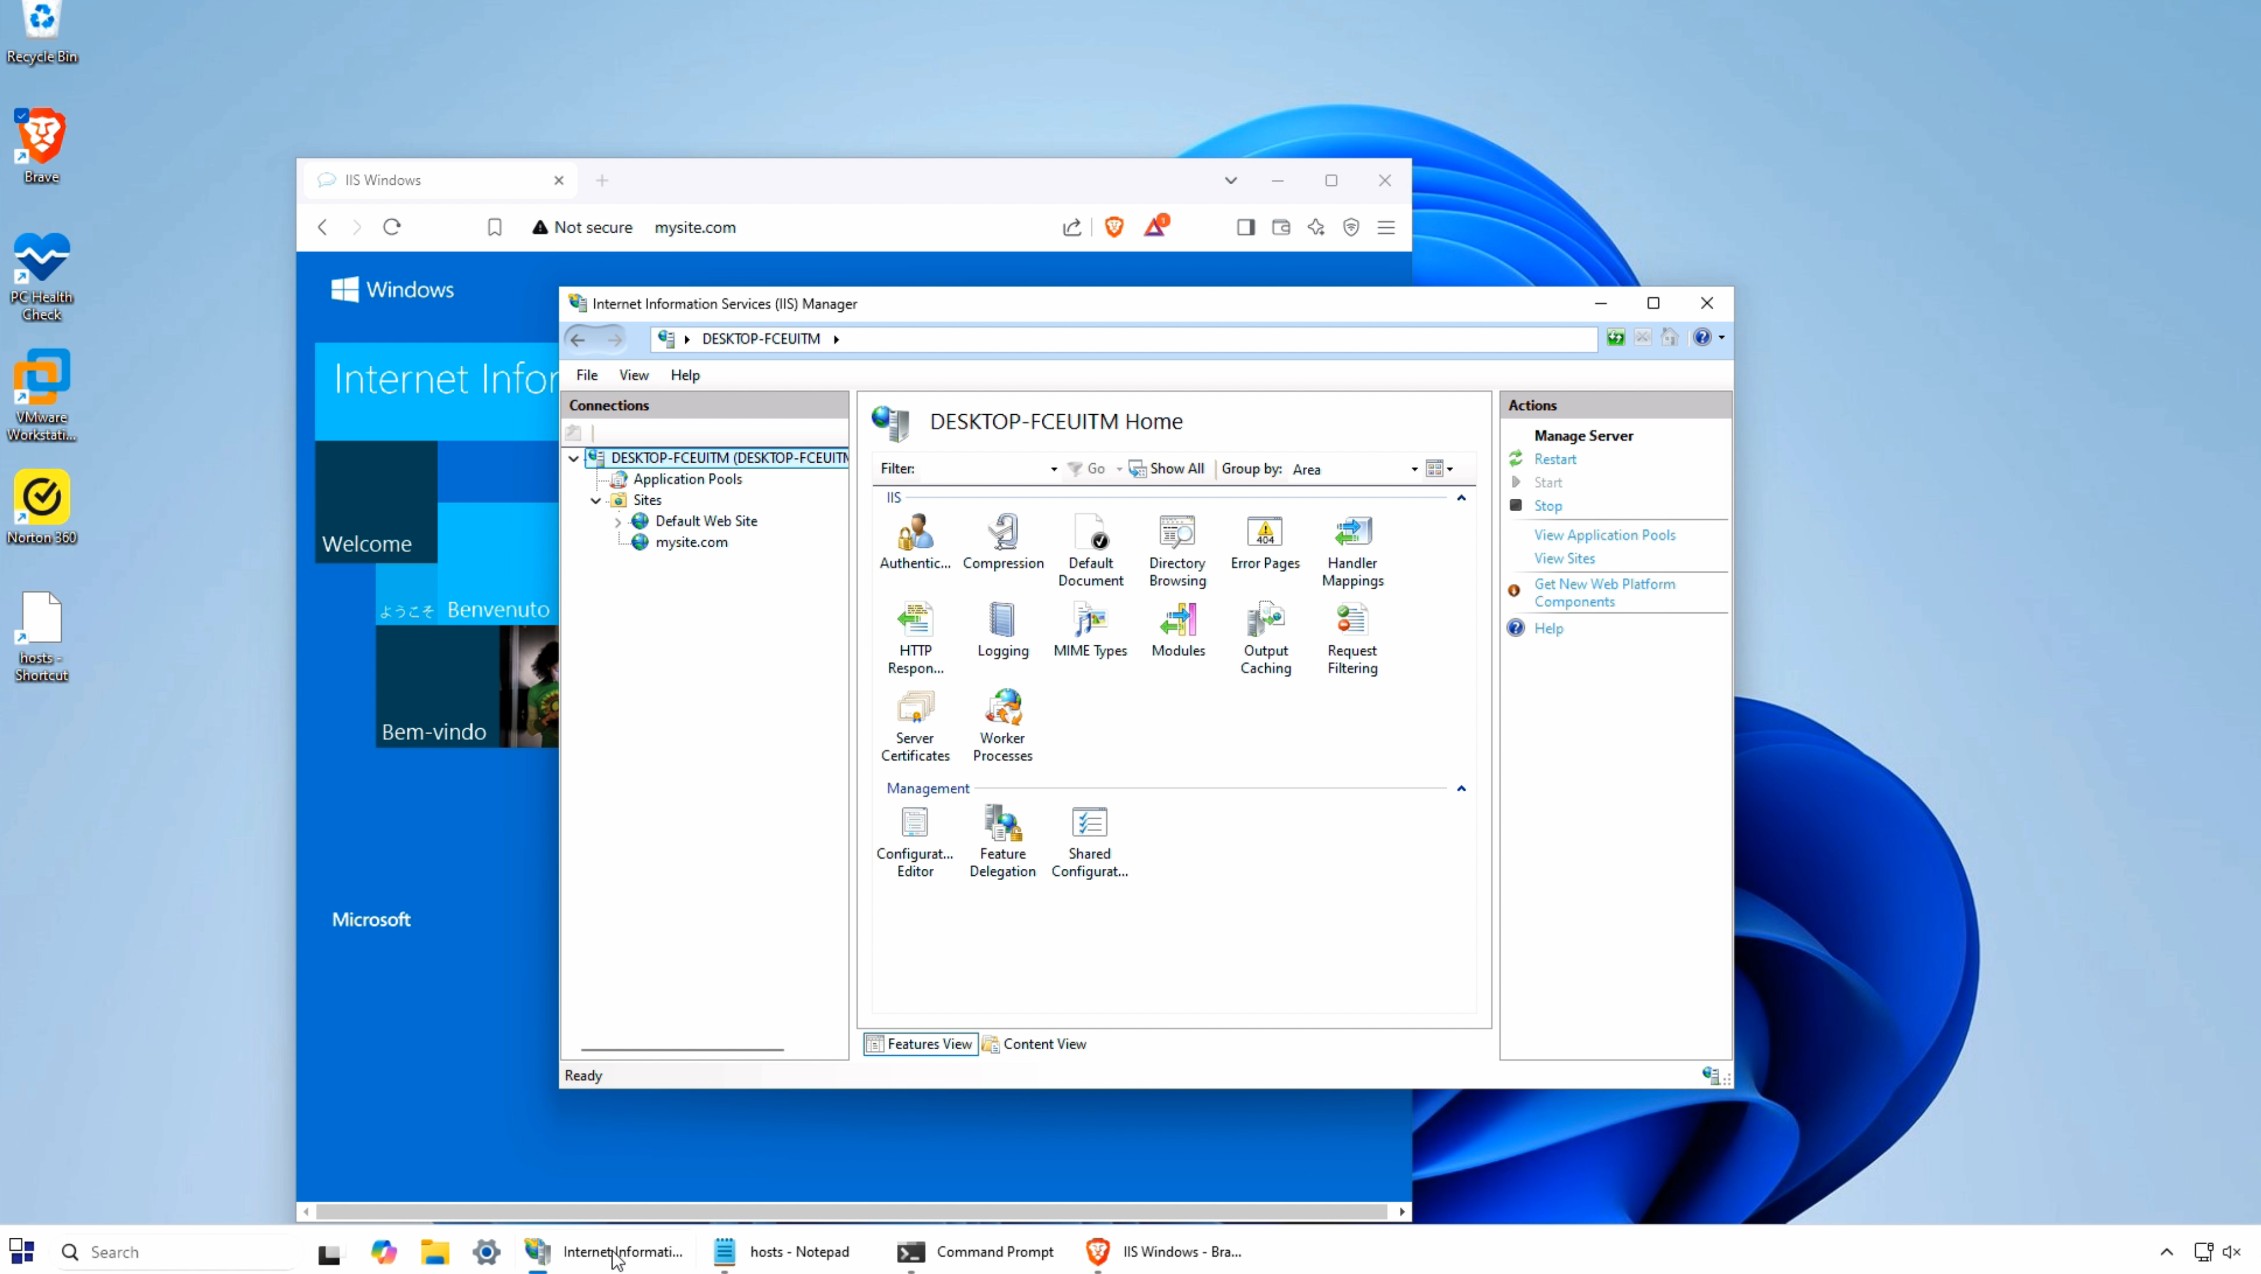
After the installation finishes, you can now open IIS Manager from a shortcut on the desktop or by typing “IIS” in the Windows search bar, or by navigating to Control Panel > Administrative Tools > Internet Information Services (IIS) Manager.
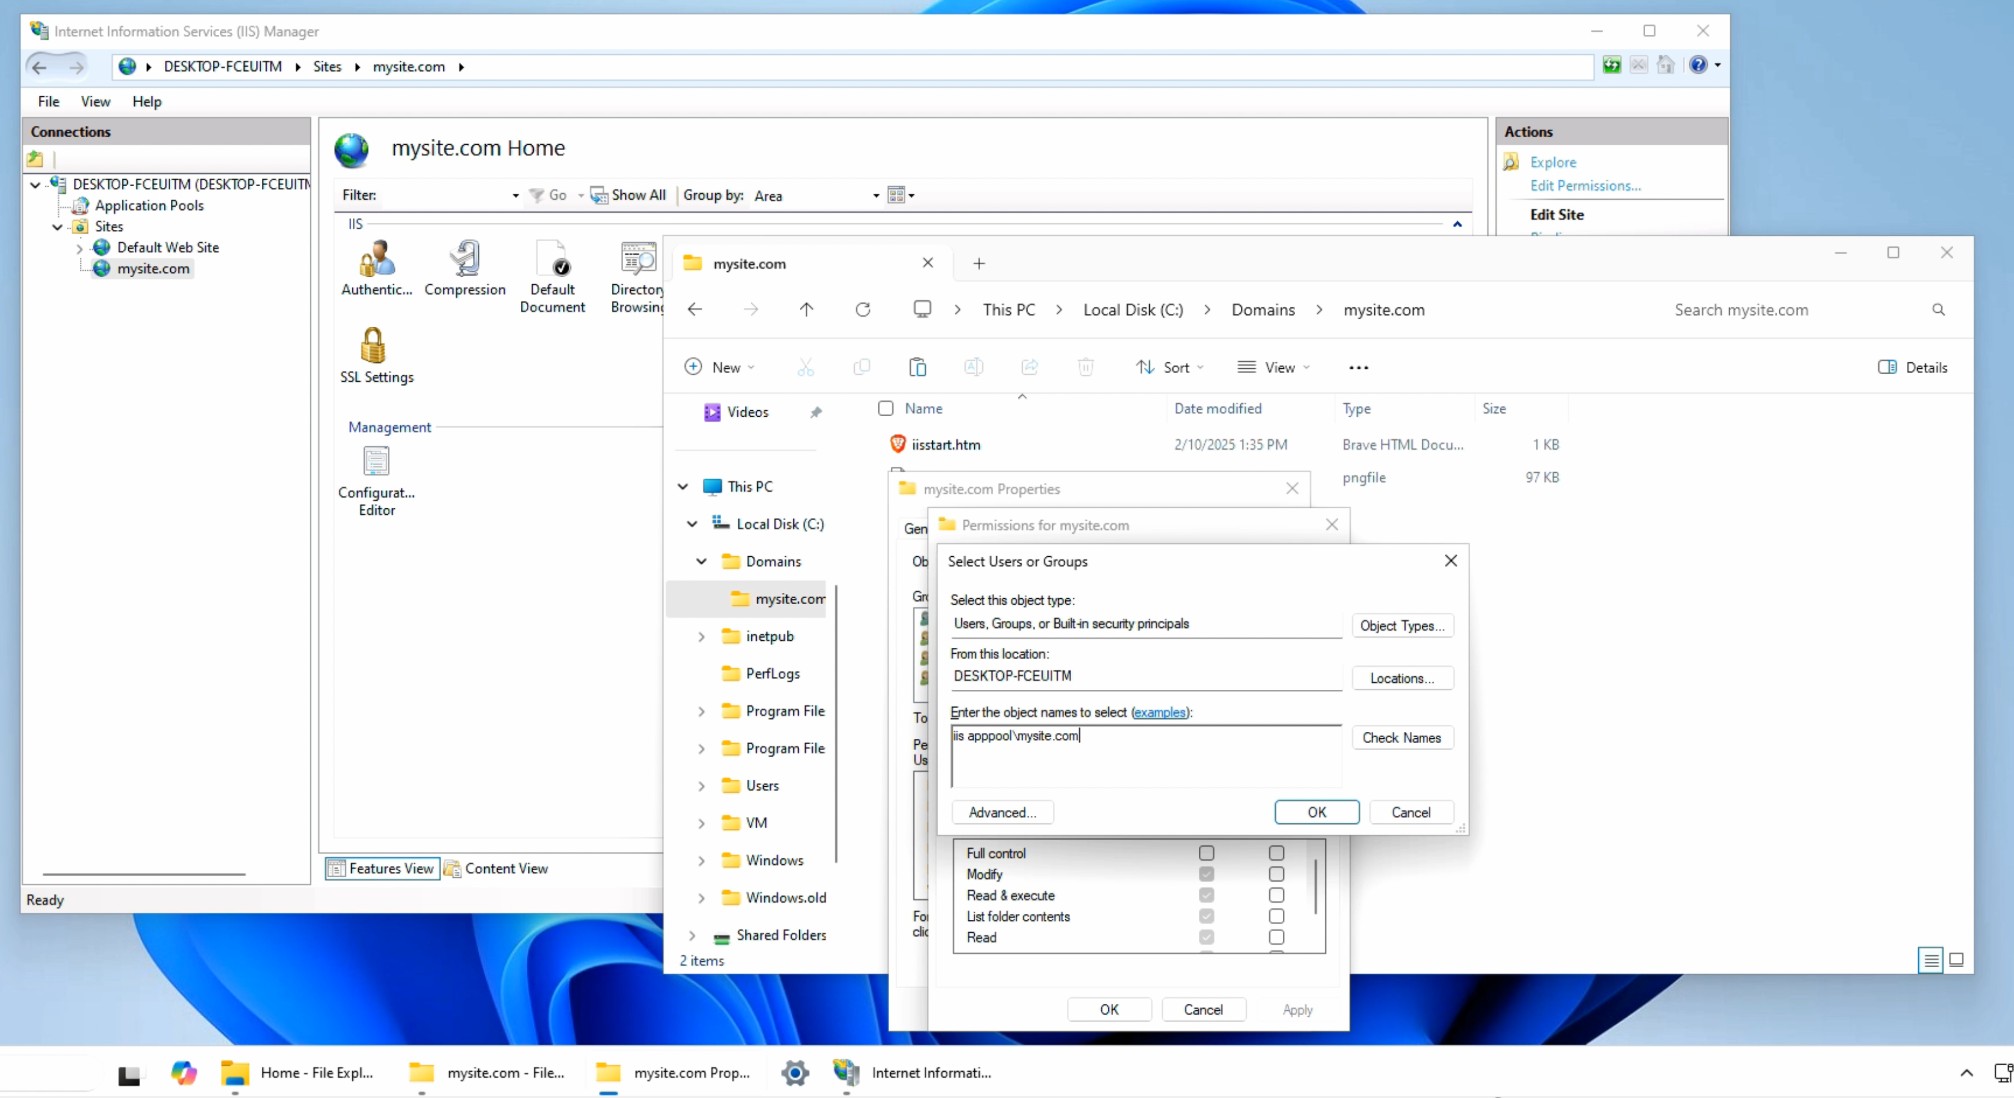
To get the most out of your local version of you should strive to match your prod environment settings as much as possible. Obviously if you support a multi node web farm with Shared Configuration and Active Directory service accounts you will have some limitations. But at the very least you should follow best practices and configure your site’s application pool identify with the site’s unique application pool identity instead of local system. Check out my previous blog post on how to do that.
Finalizing Installation
After completing installation the big test will be if you can resolve requests in your browser to your newly created site. You can do this by opening a browser and going to http://localhost where the welcome page should display. However, again I prefer to simulate production environments as much as possible so I want to use a real hostname when accessing my local site. To accomplish this you just need to navigate to the Windows local hosts file C:\Windows\System32\drivers\etc\hosts
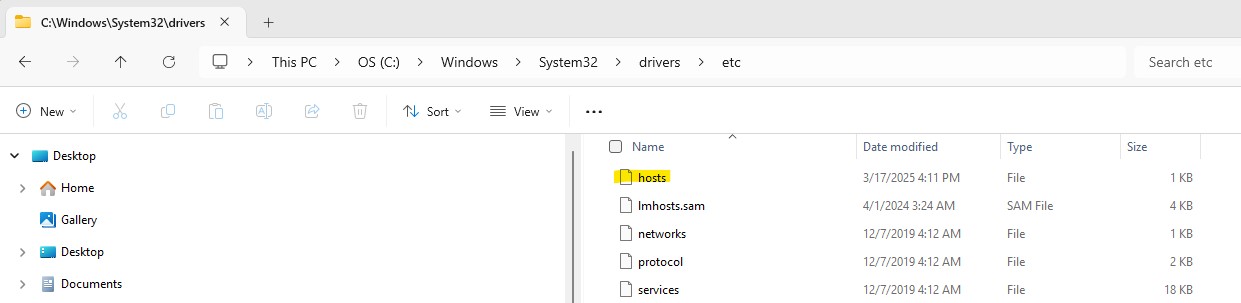
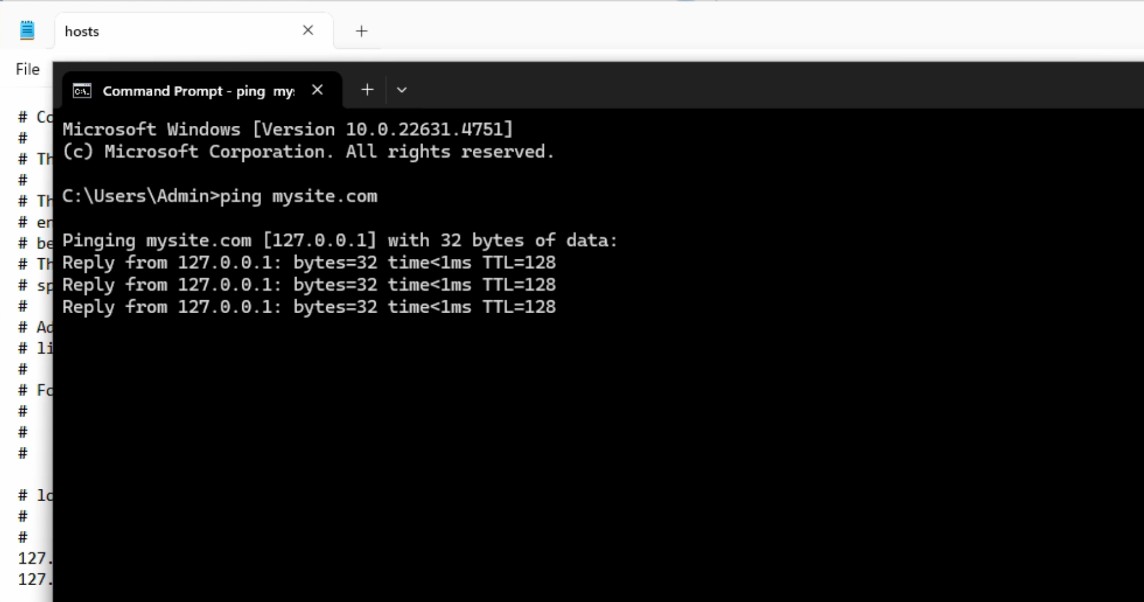
The hosts file does not have a file extension. Just open it and add the localhost ip address 127.0.0.1 and your desired hostname for your local site. This hostname will now automatically resolve to your local computer without any external DNS updates. In my example I’m using hostname mysite.com.

The final validation that your local hostname is configured properly is to ping it just like you would with an externally hosted domain name.
Frequently Asked Questions
The following questions and answers offer details about installing Internet Information Services on Windows 11. These questions cover installation methods, required components, and basic configuration steps.
What are the steps to install IIS on Windows 11?
For installing IIS on Windows 11, go to the Control Panel and choose “Programs and Features.” Click on “Turn Windows features on or off” from the left pane.
You can find “Internet Information Services” under the Windows Features dialog box by scrolling down and ticking this box to install IIS with default features.
You can also select additional components within the IIS folder by checking the “Web Management Tools” or “Application Development Features” among others. Click on “OK” to start the installation process.
How can I use PowerShell to install IIS on Windows 11?
As far as PowerShell is concerned, installing IIS is quite easy. Right click on the Start menu and choose “Windows PowerShell (Admin)” from the context menu.
The following command enables the installation of IIS with the basic features:
Enable-WindowsOptionalFeature -Online -FeatureName IIS-WebServerRoleExtra parameters can be used to install more specific features such as:
Enable-WindowsOptionalFeature -Online -FeatureName IIS-WebServerRole,IIS-WebServer,IIS-CommonHttpFeatures,IIS-ManagementConsoleWhat features of .NET Framework are required for IIS on Windows 11?
IIS on Windows 11 has many.NET Framework components that will depend on your application’s needs. You should at least enable ASP.NET 4.8 through Windows Features.
For modern web applications, it is recommended to enable “.NET Extensibility,” “ASP.NET,” and “ISAPI Extensions” under the Application Development Features section in the Windows Features dialogue.
If you are developing.NET Core applications, you will have to download the.NET Core Hosting Bundle from the official Microsoft website since it is not available in the base Windows features.
How do I access the IIS Manager on Windows 11?
Once you install IIS, you can open the IIS Manager in the following ways. Searching for “IIS” in the Windows search bar and choosing “Internet Information Services (IIS) Manager” is the simplest way.
To do this, go to the Control Panel and click on System and Security, then Administrative Tools and Internet Information Services (IIS) Manager.
You can also launch it by running “inetmgr” in the Run dialog (Win+R) or Command Prompt.
Is Internet Information Services compatible with Windows 11?
Is Internet Information Services compatible with Windows 11?
Yes, IIS is fully compatible with Windows 11. It is a built-in Windows feature that can be enabled through Windows Features.
The current version of IIS that Windows 11 supports is version 10 and includes all the new features like HTTP/2 support, better security features and performance optimizations.
Some users have reported problems with certain IIS modules like URL Rewrite not properly working on Windows 11 but these can be fixed by making registry changes.
In Summary
Well there you have it. Installing IIS 10 on Windows 11 turns out to be quite simple. IIS 10 on Windows 11 is essential to ASP.Net web developers who want to test projects in production-like conditions from their laptop or home computer. To get the most of out having IIS 10 locally on your laptop be sure to follow best practices such as using the unique app pool identity. Thanks for reading!
